


Results 1 to 15 of 197
 65Likes
 LinkBack URL
 About LinkBacks
- 23-03-2011, 10:49 AM #1Senior Member


- Join Date
- Mar 2011
- Location
- Dublin
- Posts
- 672
 MY98 Sti Wagon Build
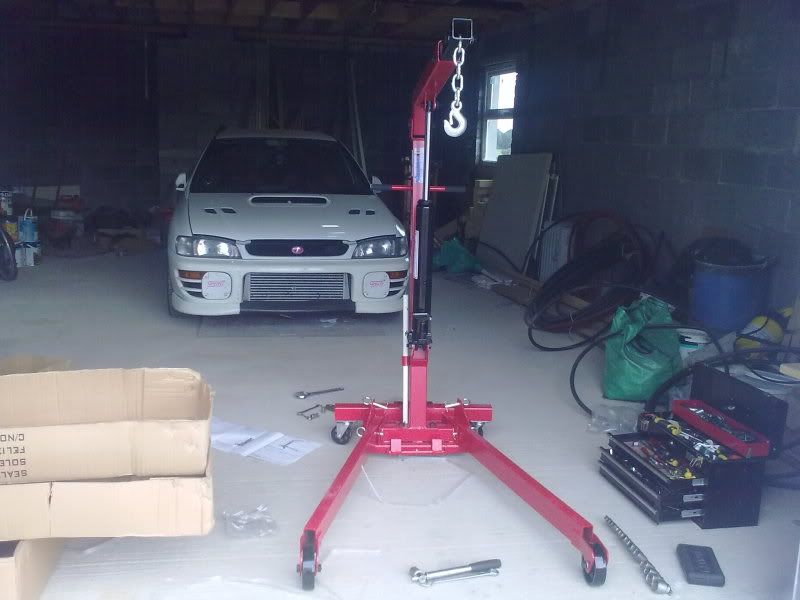
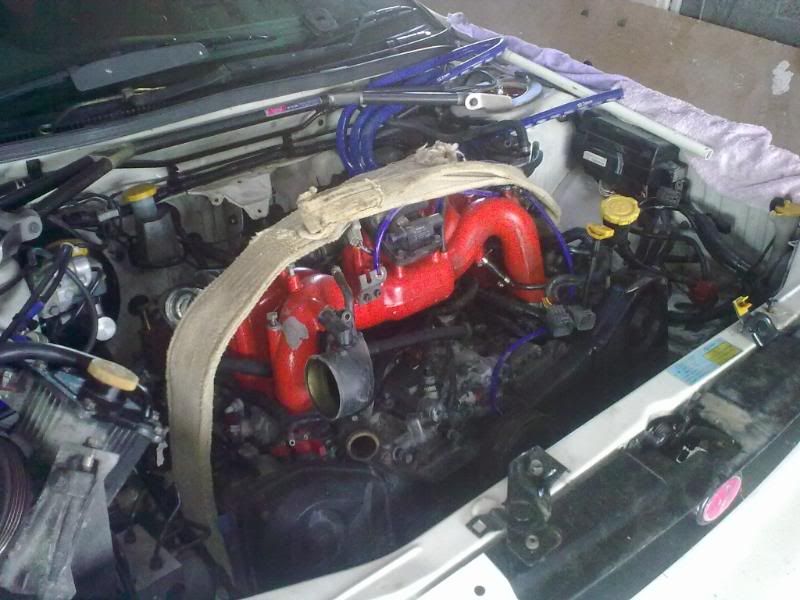
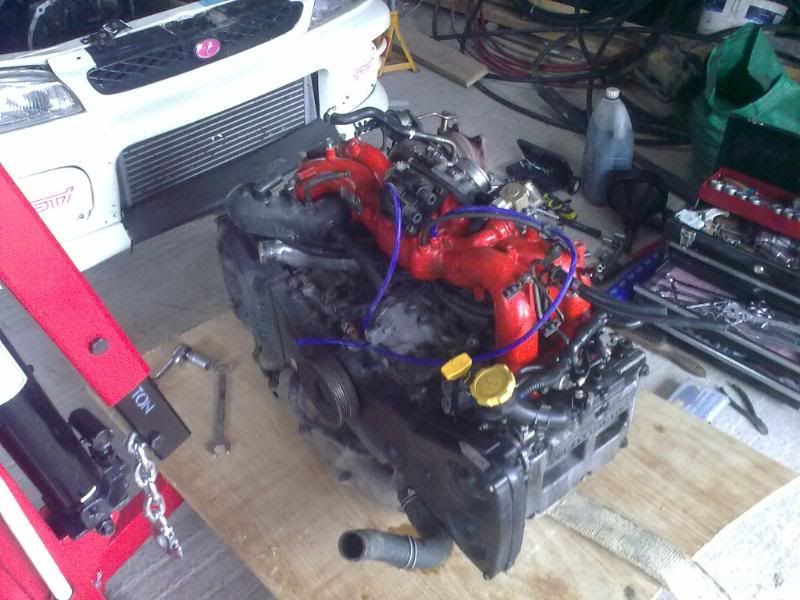
Right well few of ye were requesting pics of the build so here ye go.
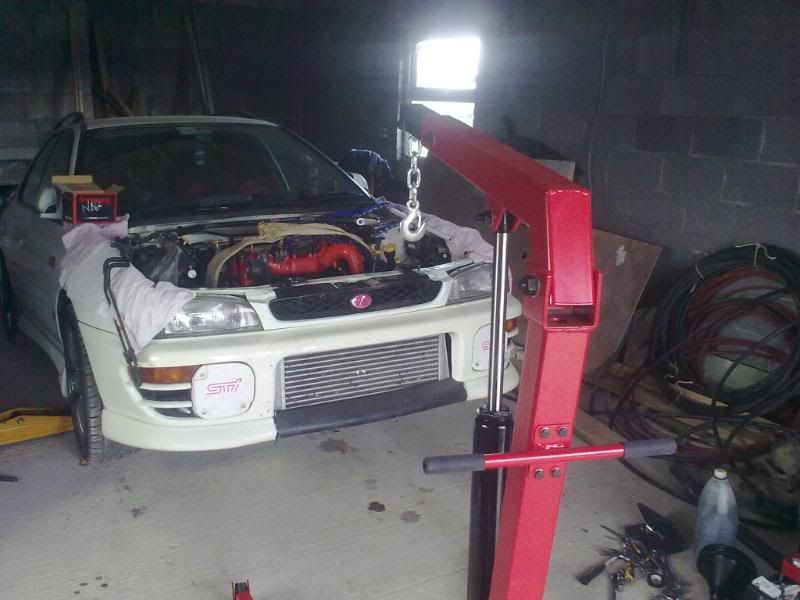
First few pics are from when it was parked up in May '10.This is a project thread copy and pasted over from another forum
Basically the car was left to me by my younger brother he died from Cystic Fibrosis complications back in November '09.
The car always had an oil consumption problem since Gavin bought it, ended up when I stripped it down all the ring lands were broken, he was told it was a forged EJ257 and it was not the case.
Anyway the car means alot so I decided to take on the build myself having previously built a few engines.
Enjoy !!
UPDATE - 27/08/2010
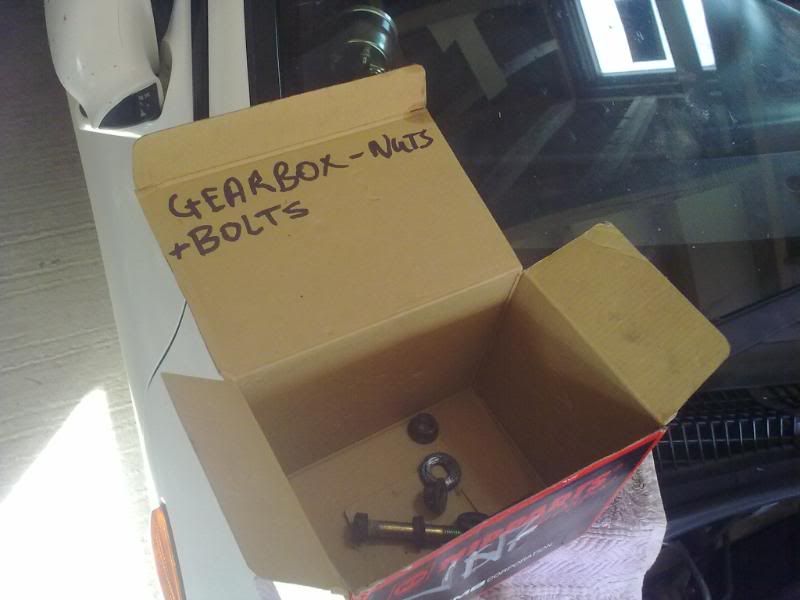
Well 3 hours in total driving accross the country to work on this today but with great results bt
The only way to keep track of them
- Sponsored Links Remove Advertisements
- 23-03-2011, 10:50 AM #2Senior Member
- Join Date
- Mar 2011
- Location
- Dublin
- Posts
- 672
Re: MY98 Sti Wagon Build
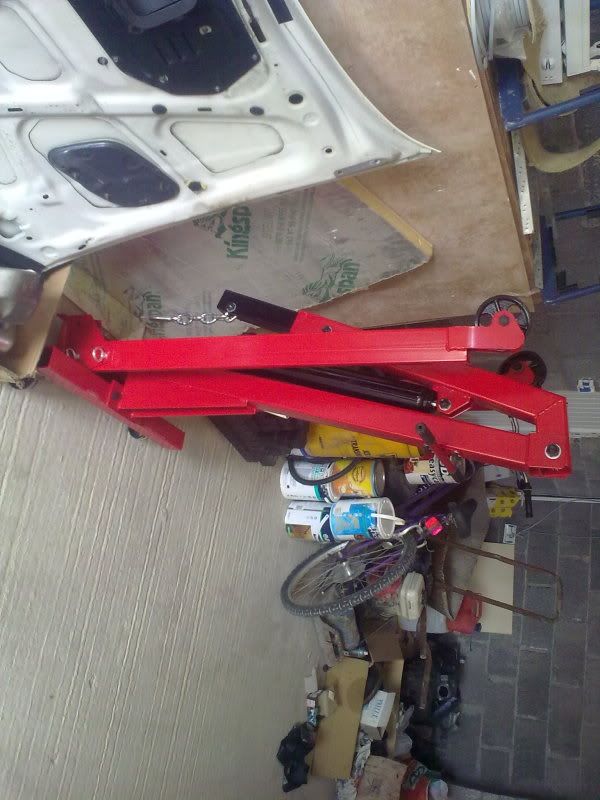
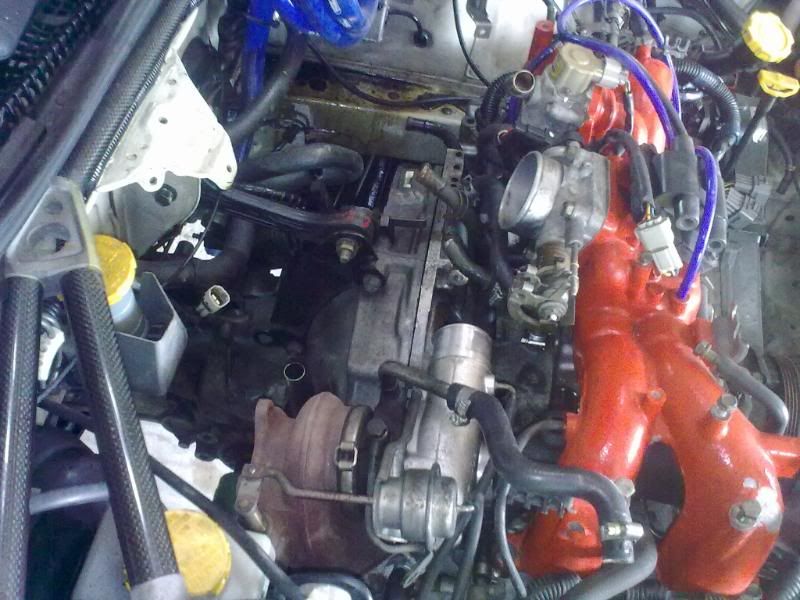
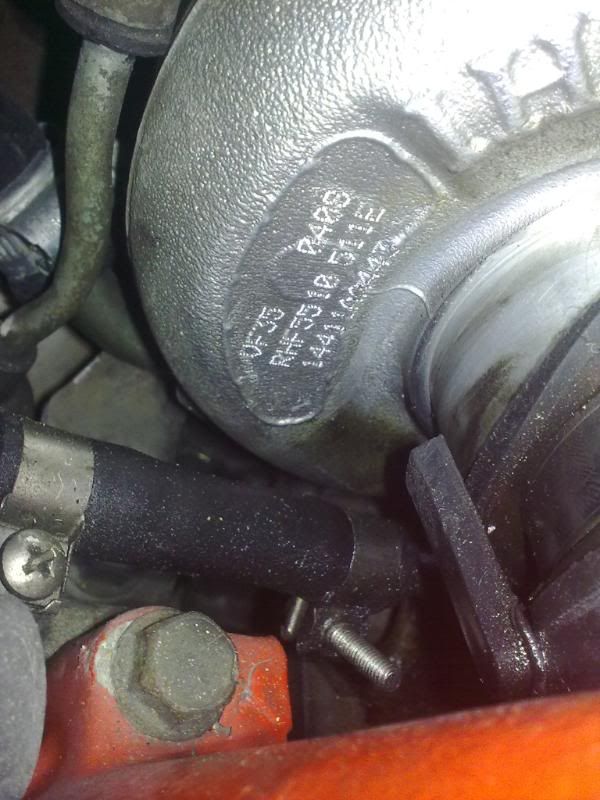
The engine killer bt
Vf35
- 23-03-2011, 10:52 AM #3Senior Member
- Join Date
- Mar 2011
- Location
- Dublin
- Posts
- 672
Re: MY98 Sti Wagon Build
UPDATE 06/09/2010
Was working on this last Friday only got chance to put them up now
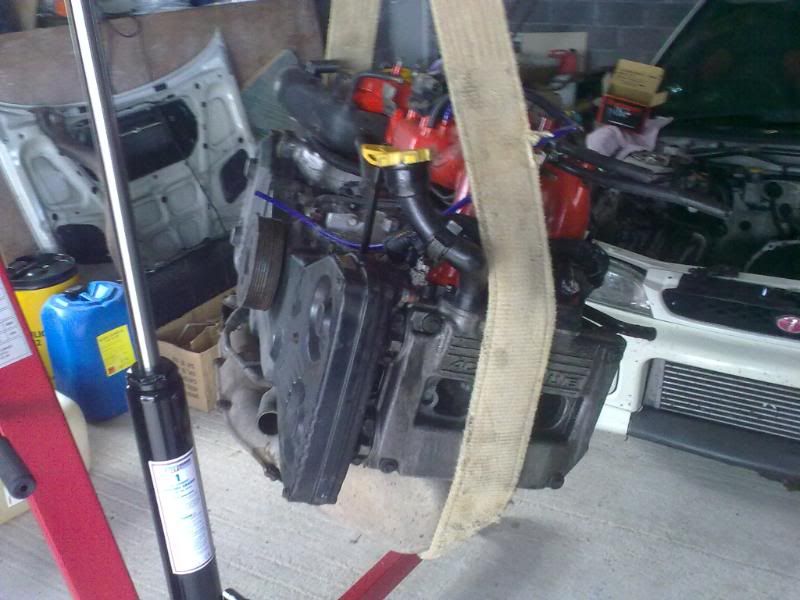
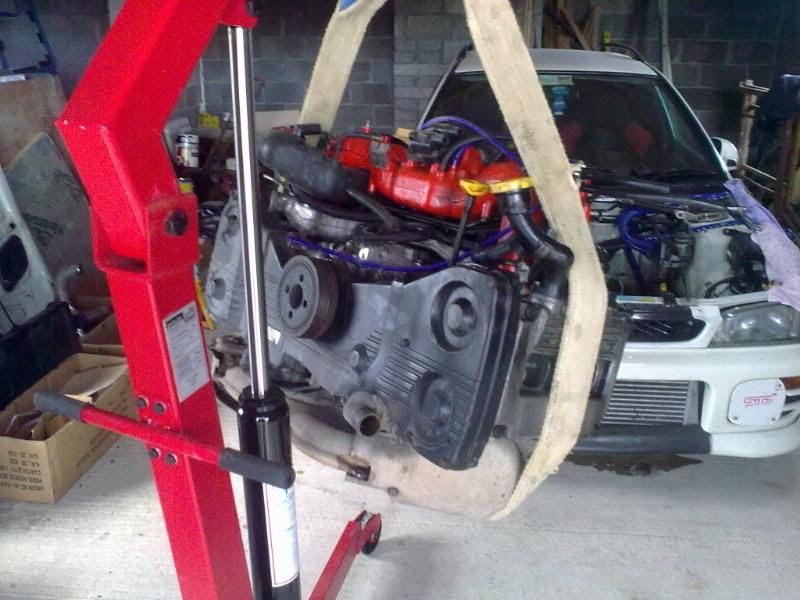
When I drained the engine there was about a litre of oil in it so it used 3.5 ish litres on a 140km drive before it was parked up
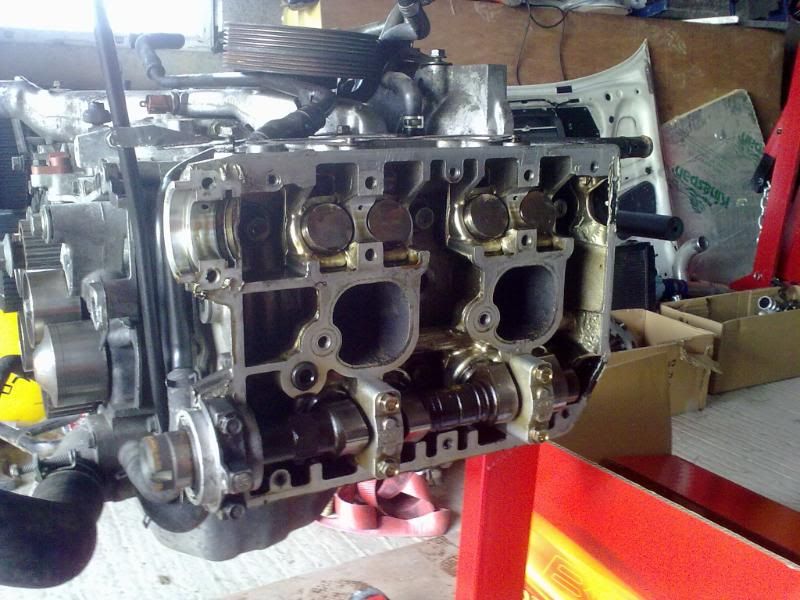
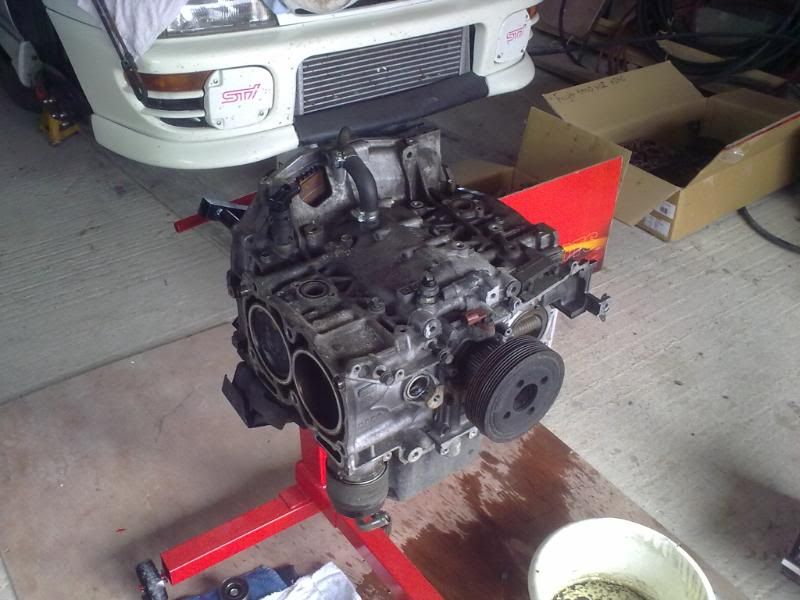
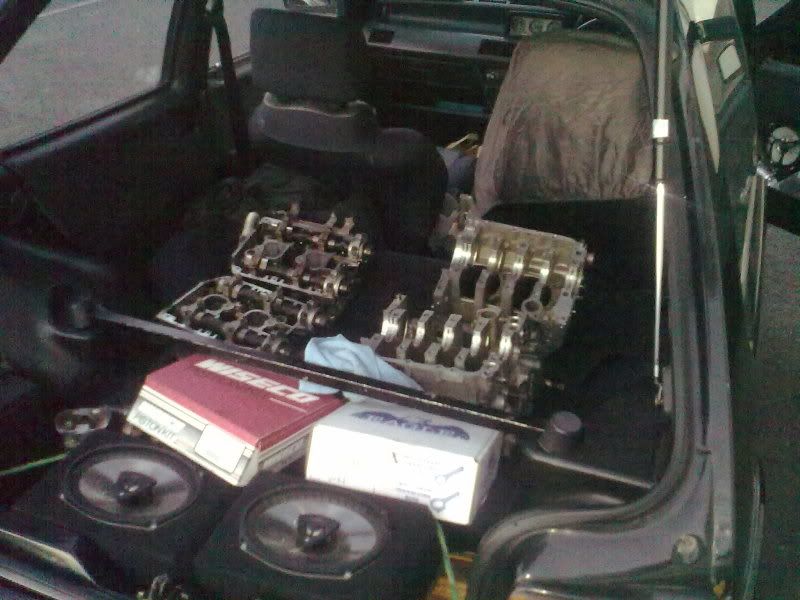
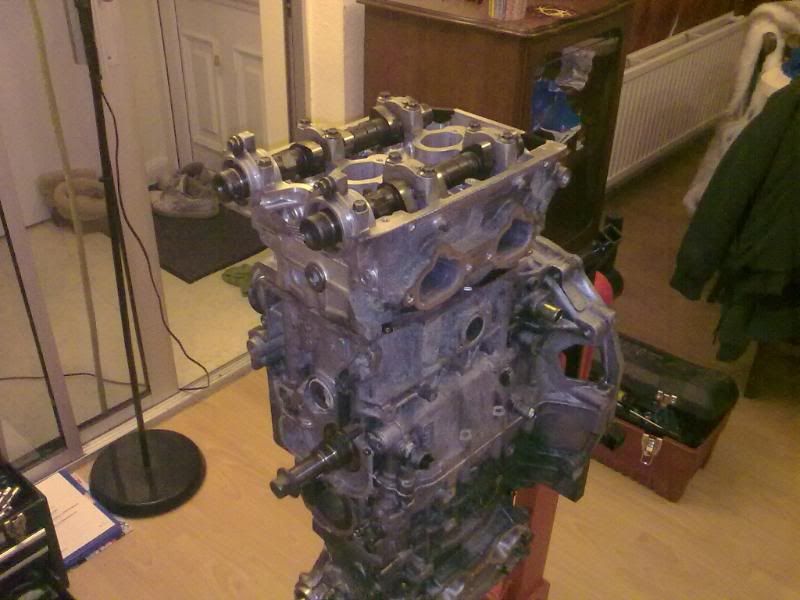
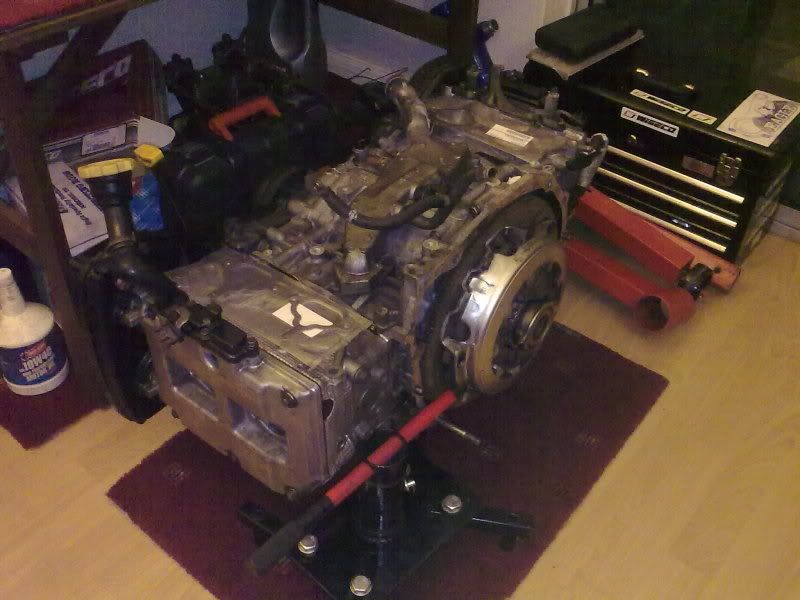
Engine on the stand

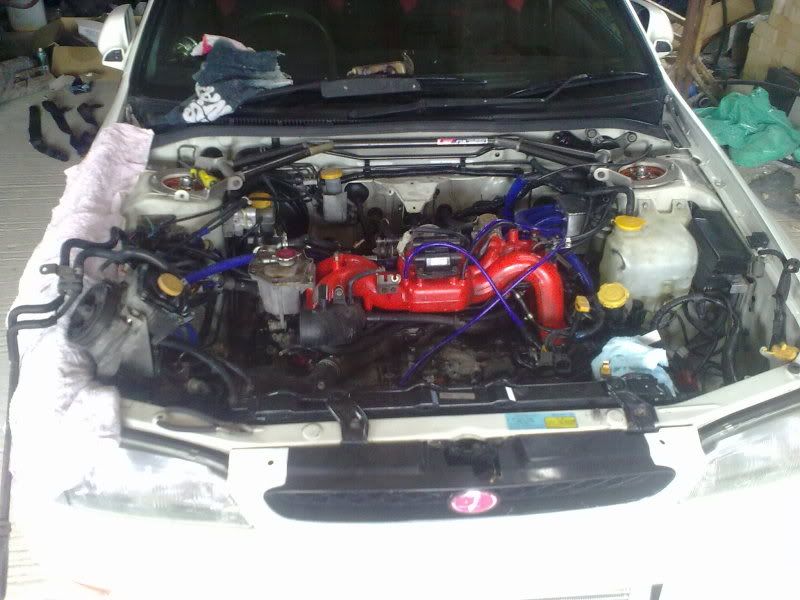
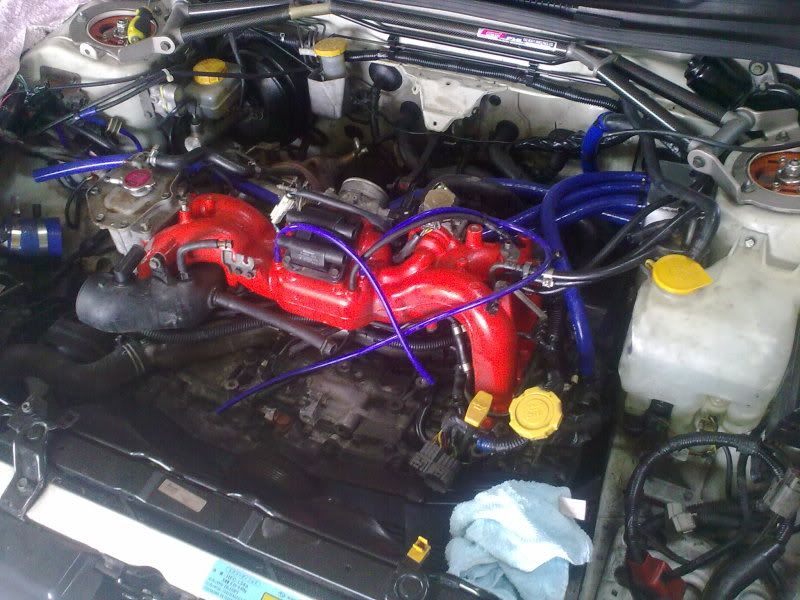
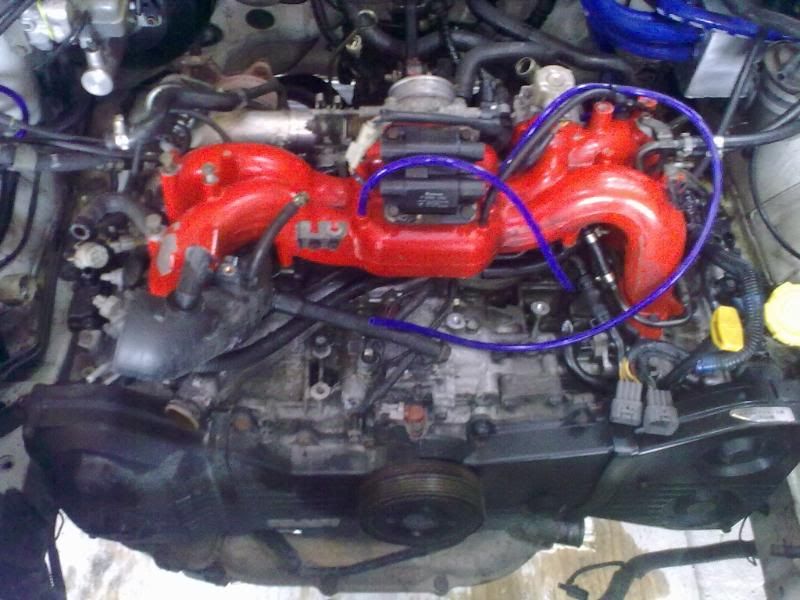
Inlet manifold and loom, absolutely no wiring to this car
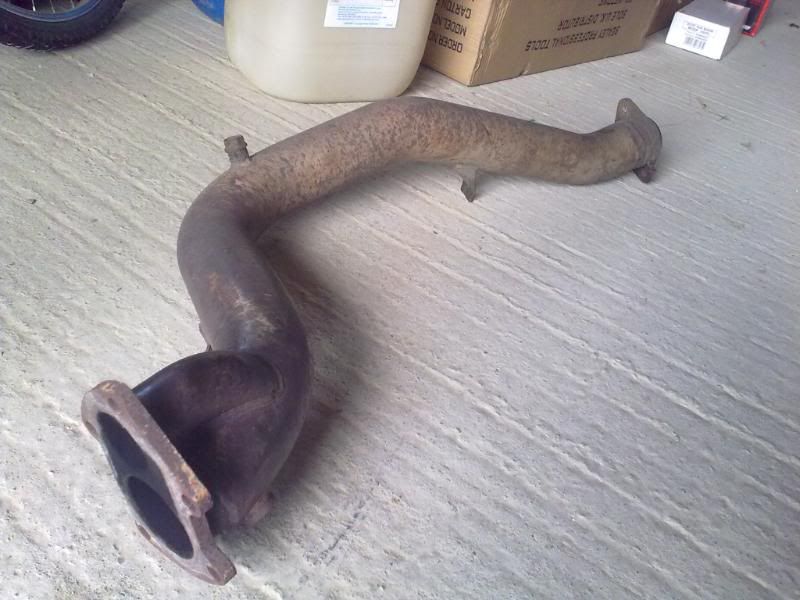
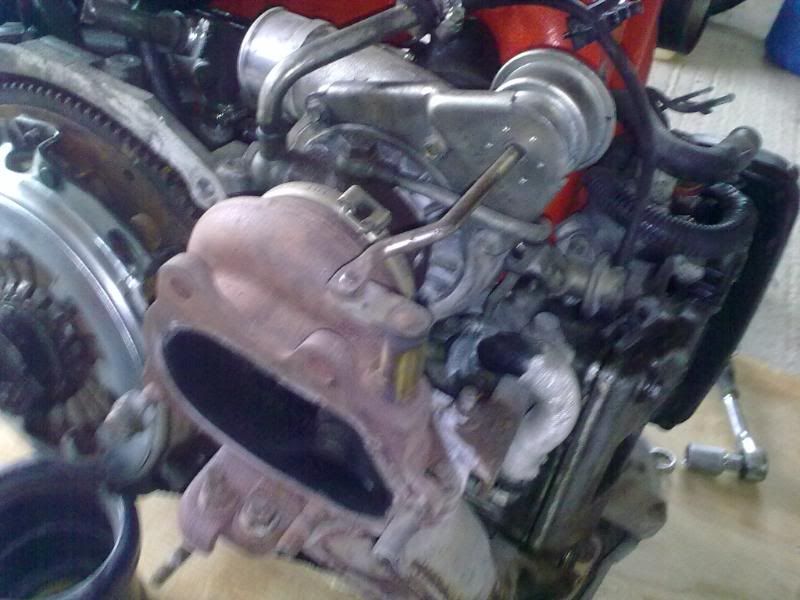
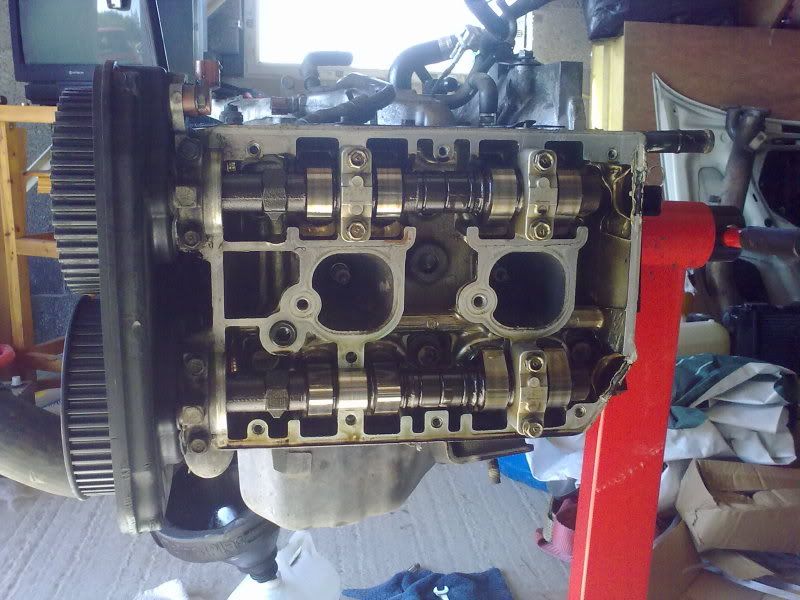
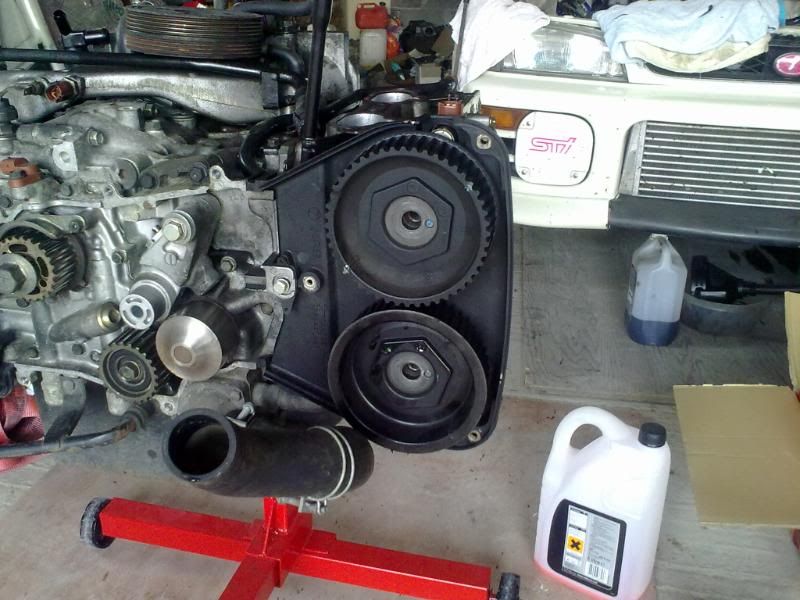
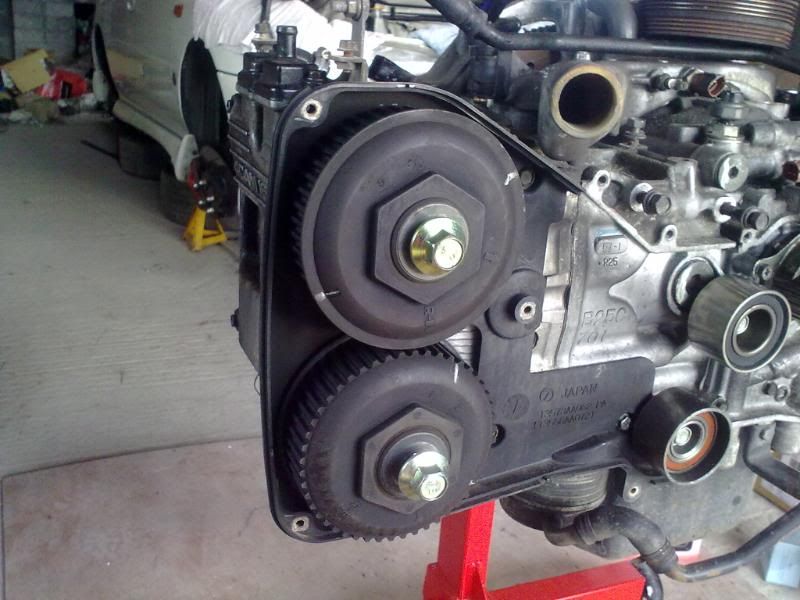
Exhaust manifold off ,timing belt and covers off
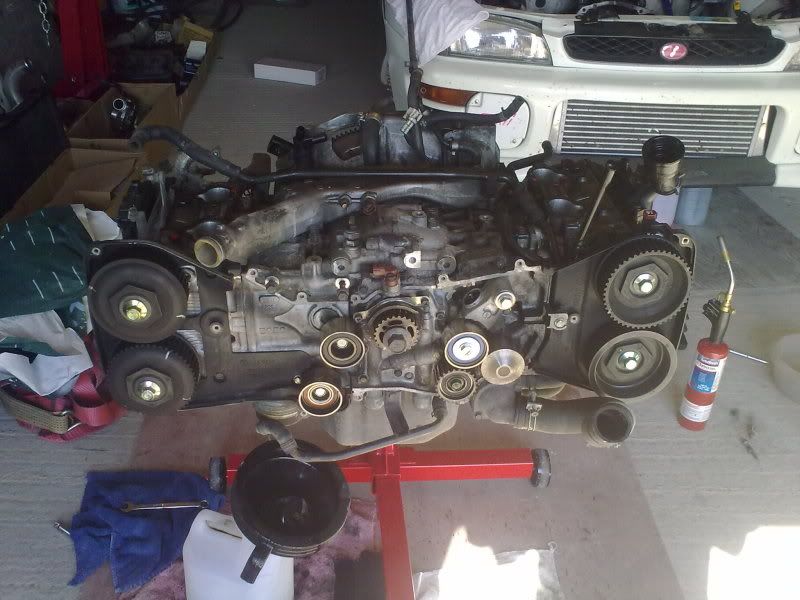
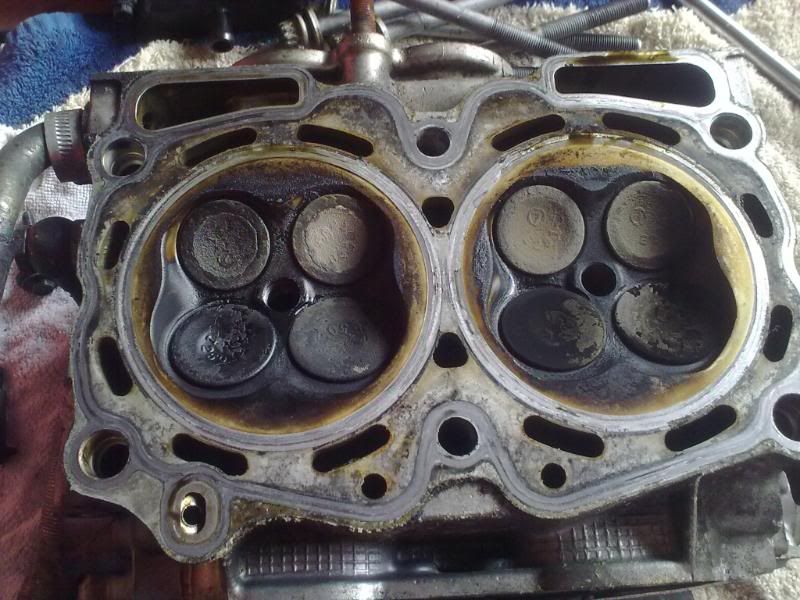
Have to take the cams out to get the heads off
thought this looked like a good picture opportunity

- Sponsored Links Remove Advertisements
- 23-03-2011, 10:54 AM #4Senior Member
- Join Date
- Mar 2011
- Location
- Dublin
- Posts
- 672
Re: MY98 Sti Wagon Build
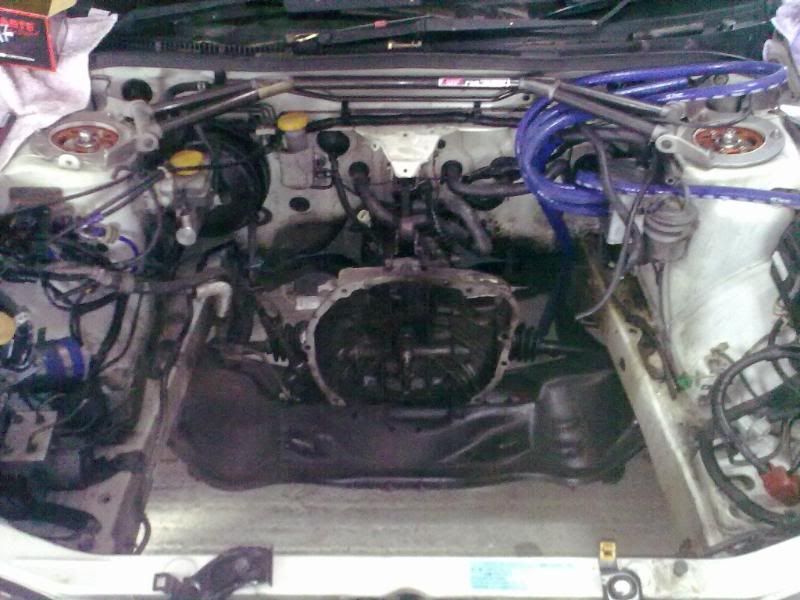
UPDATE 28/10/2010
Here is where I am so far
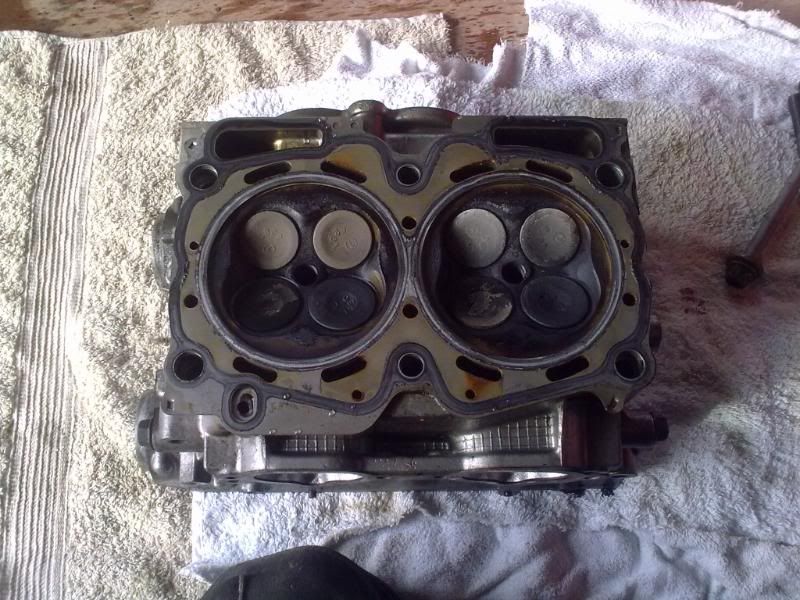
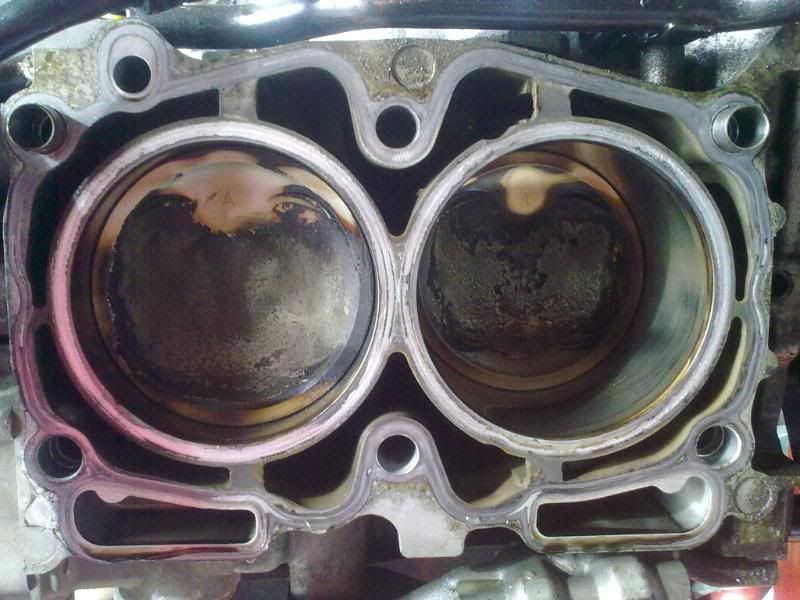
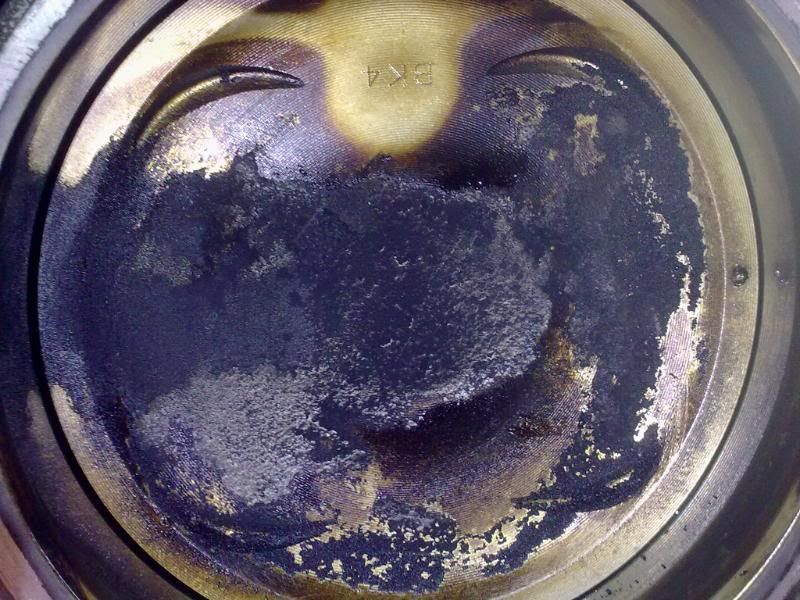
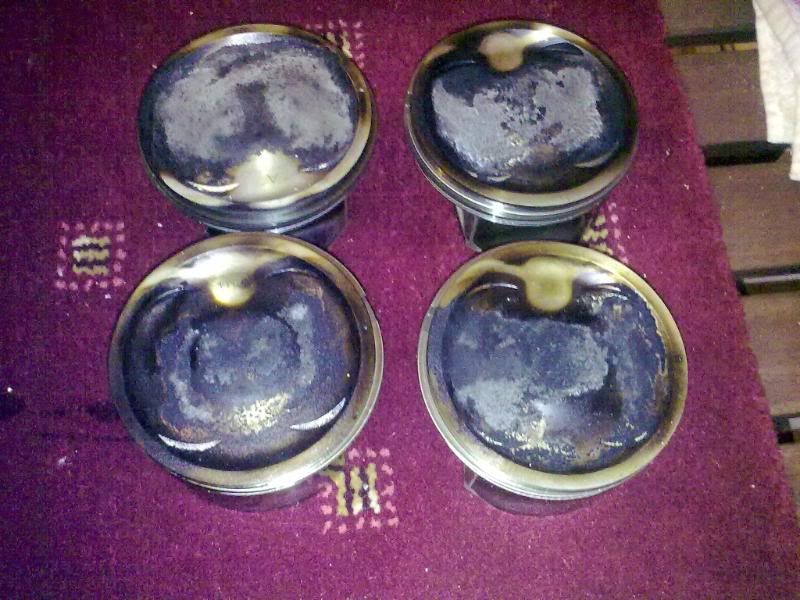
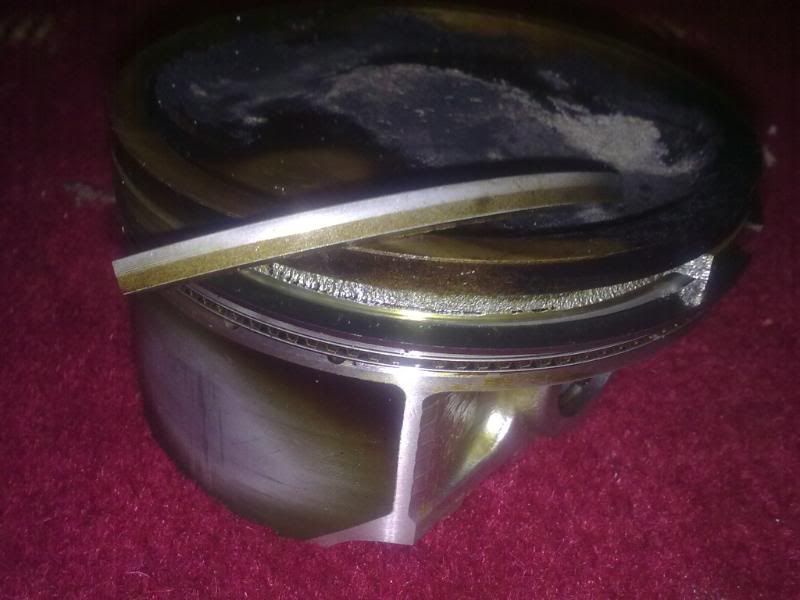
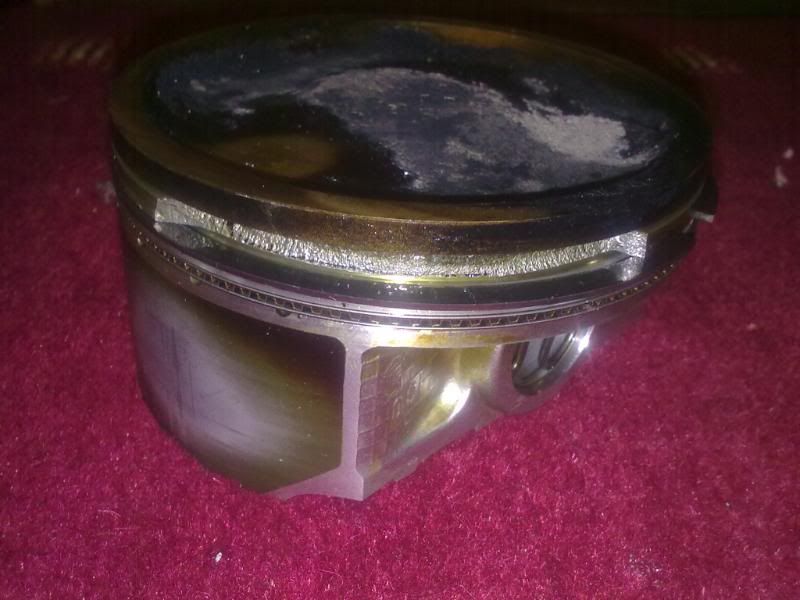
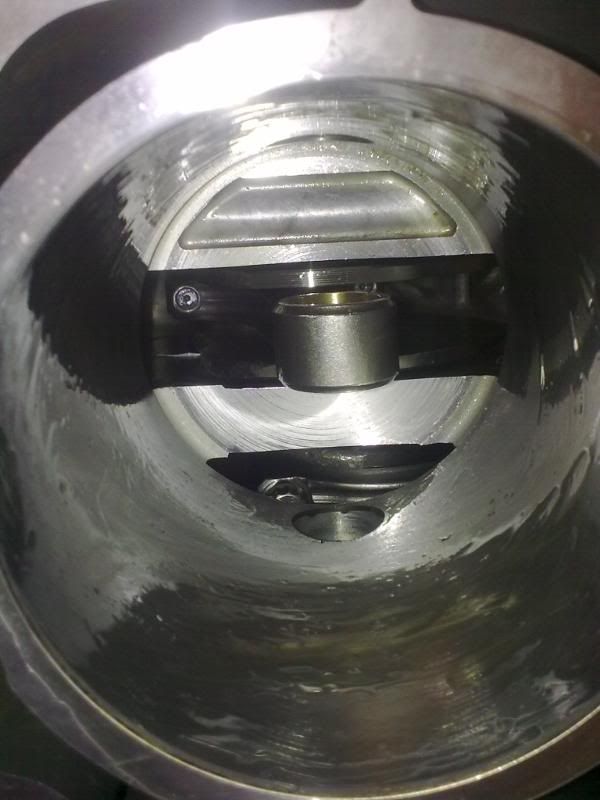
Alot of carbon deposits on the piston faces

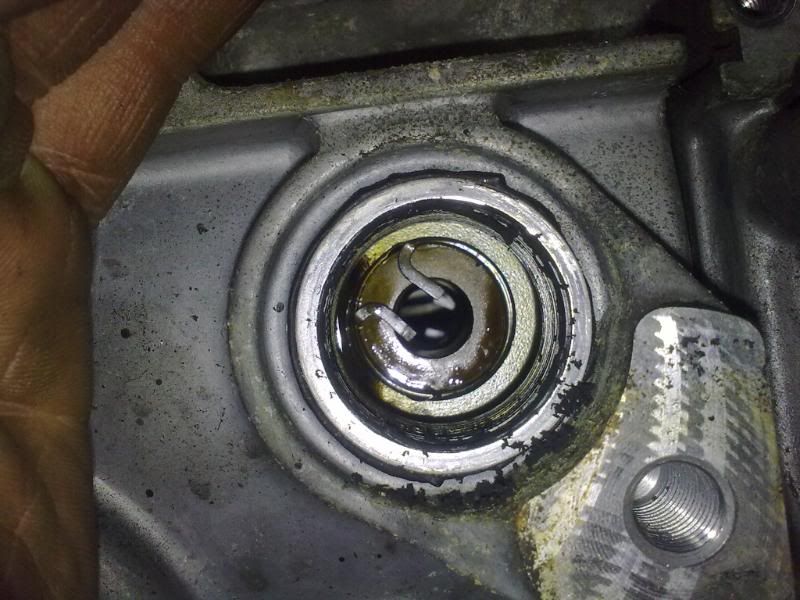
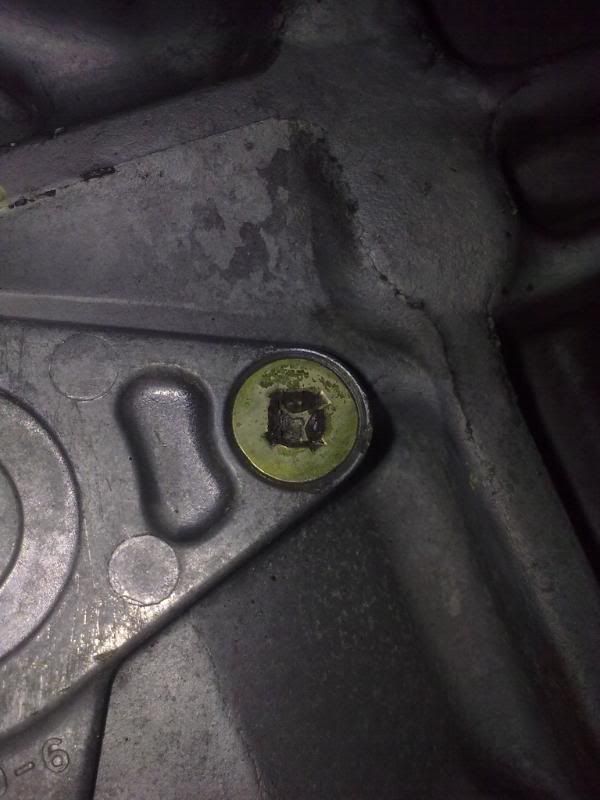
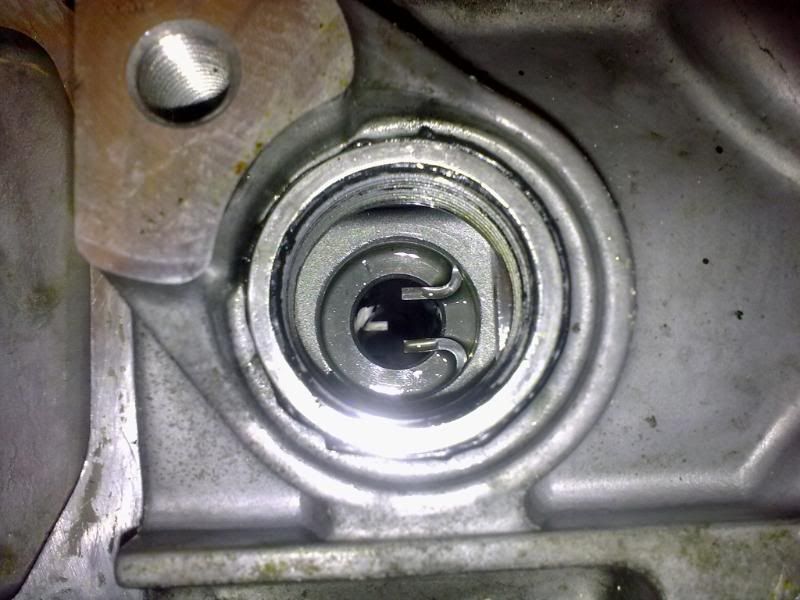
Once I removed the flywheel I found a few butchered screw heads holding the plates on,the plates need to be removed to get access to the circlip holding the gudgen pin in also the pins come out through there
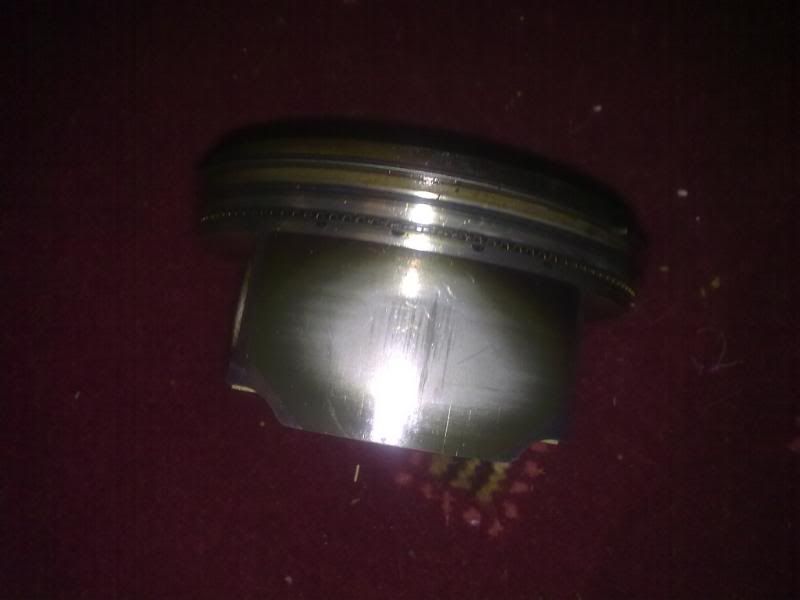
Some score marks on the piston
- 23-03-2011, 10:55 AM #5Senior Member
- Join Date
- Mar 2011
- Location
- Dublin
- Posts
- 672
Re: MY98 Sti Wagon Build
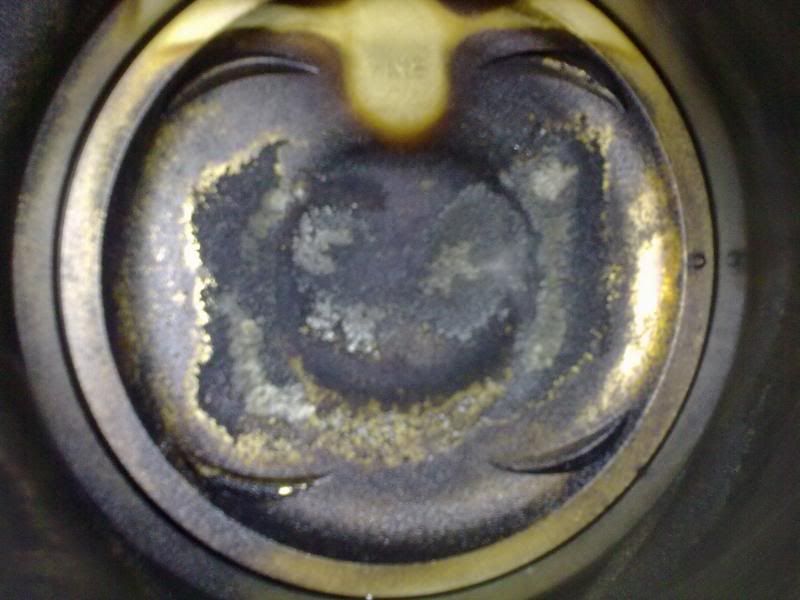
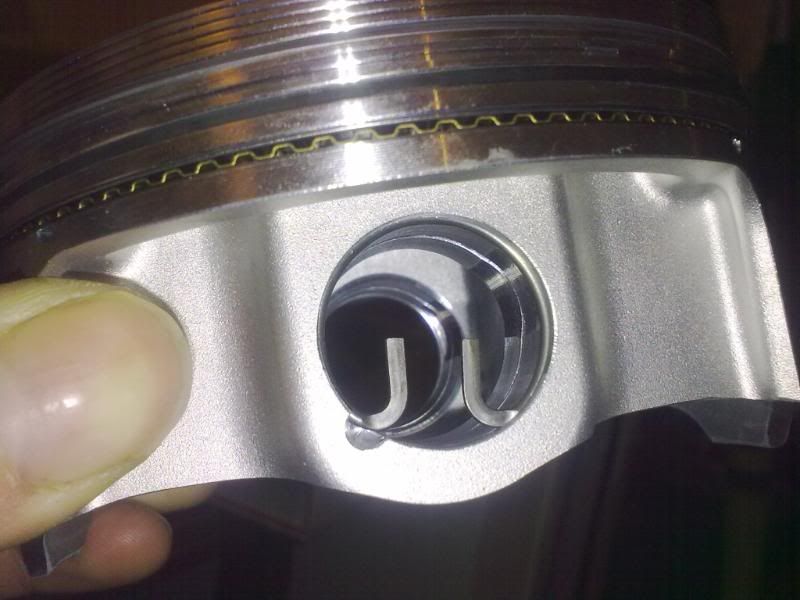
And here's the reason for the build: Broken Ringlands on every piston(rrfl:
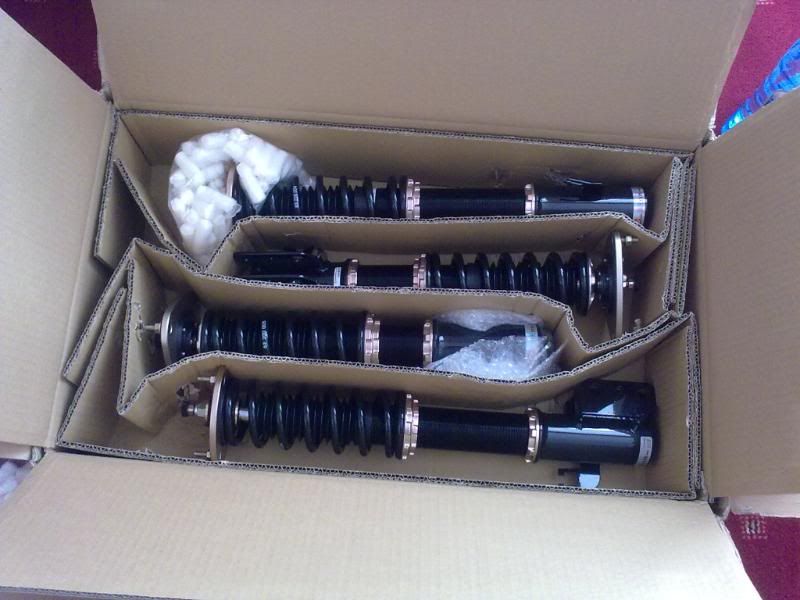
Also got new bc coilovers for it
- 23-03-2011, 10:56 AM #6Senior Member
- Join Date
- Mar 2011
- Location
- Dublin
- Posts
- 672
Re: MY98 Sti Wagon Build
UPDATE : 23/11/2010
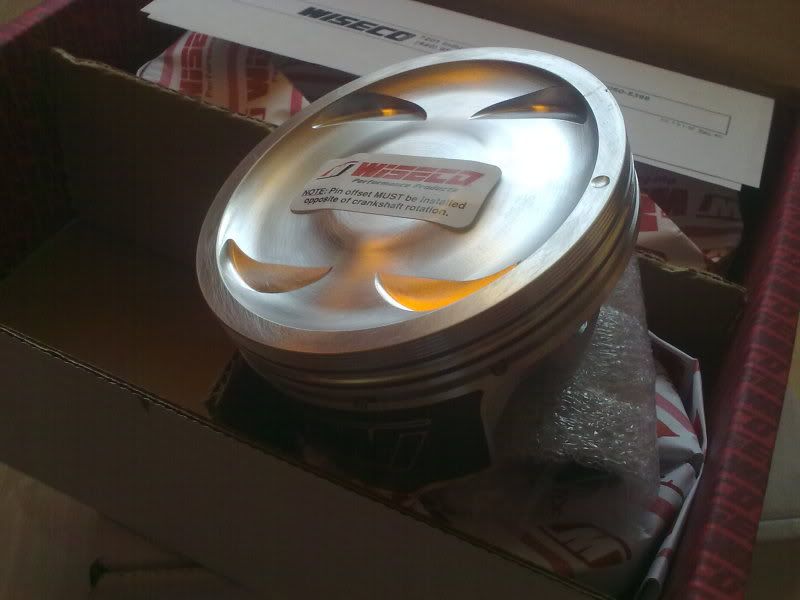
Right lads ,Drove up to Belfast to john in ECC today and picked up the engine internals
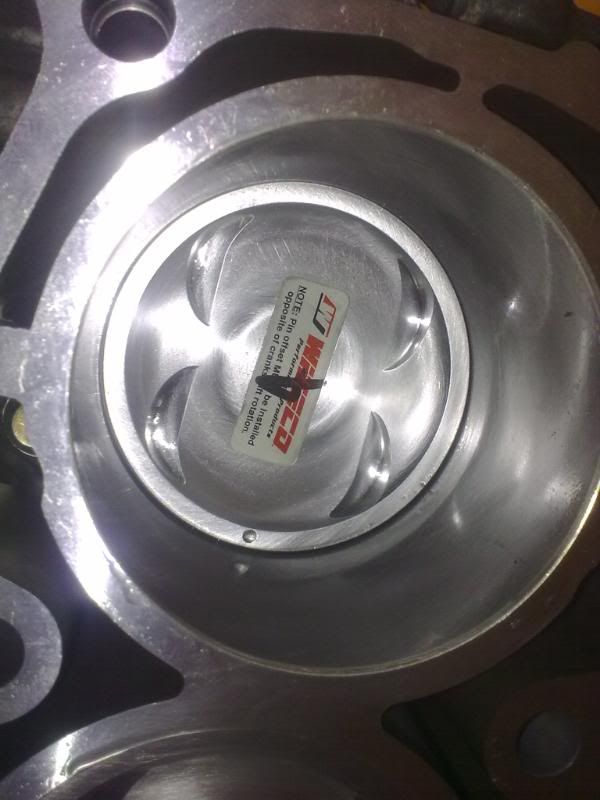
100mm Wiseco Pistons
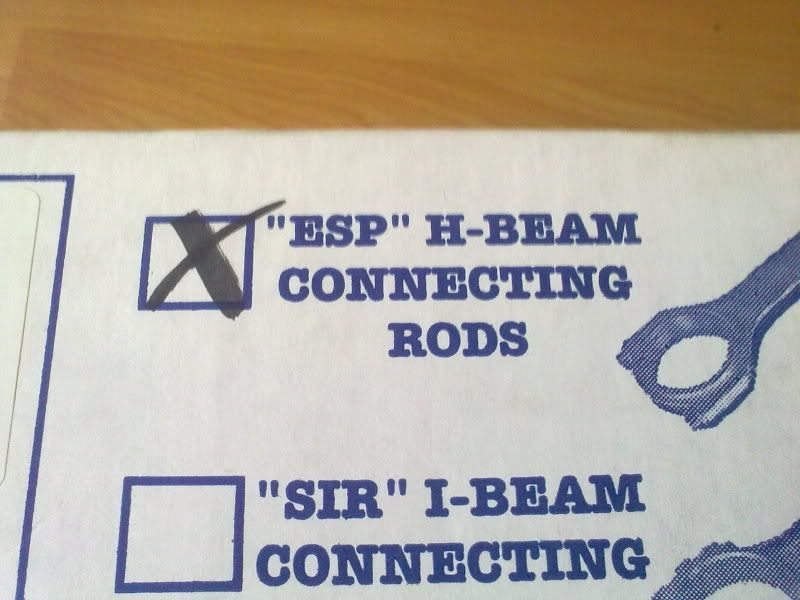
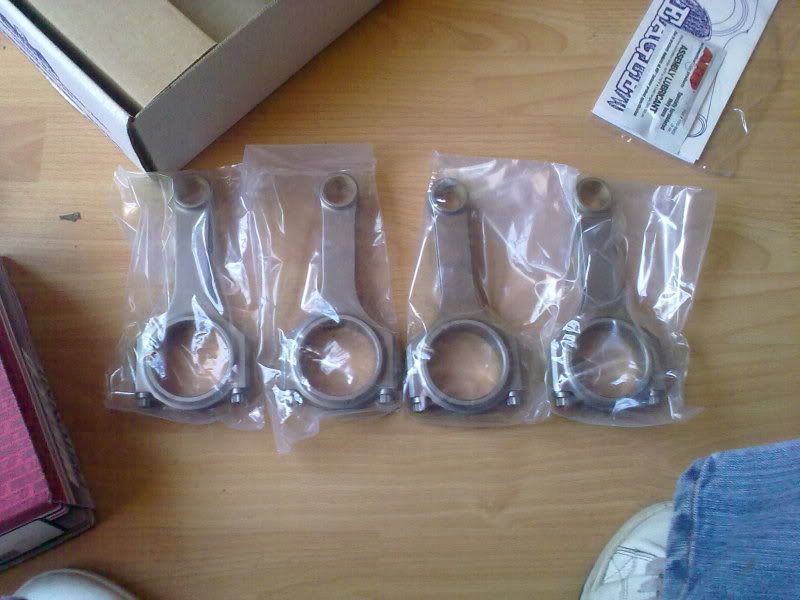
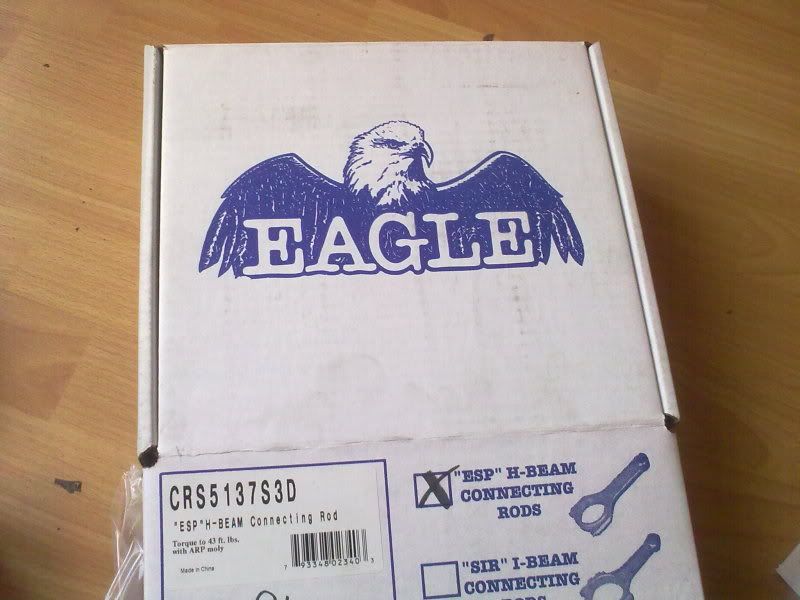
Eagle H beam rods
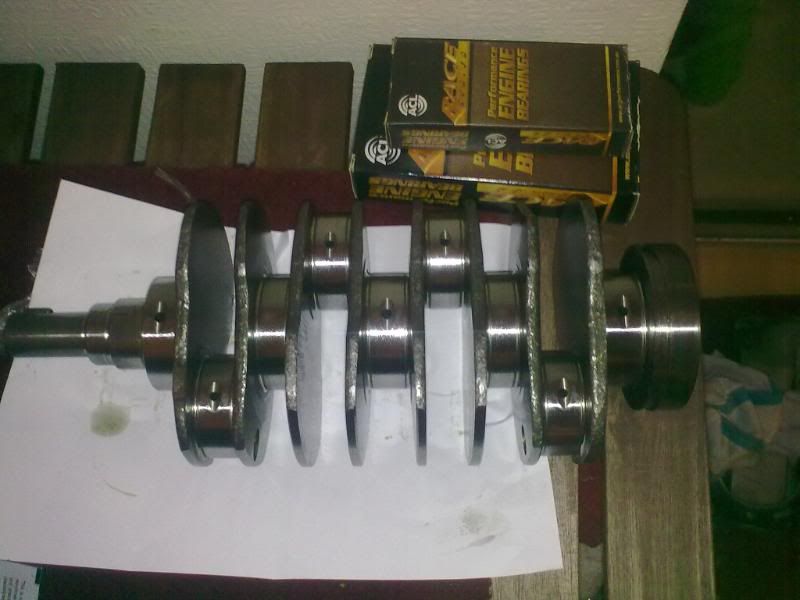
Acl race bearings (mains and rods)
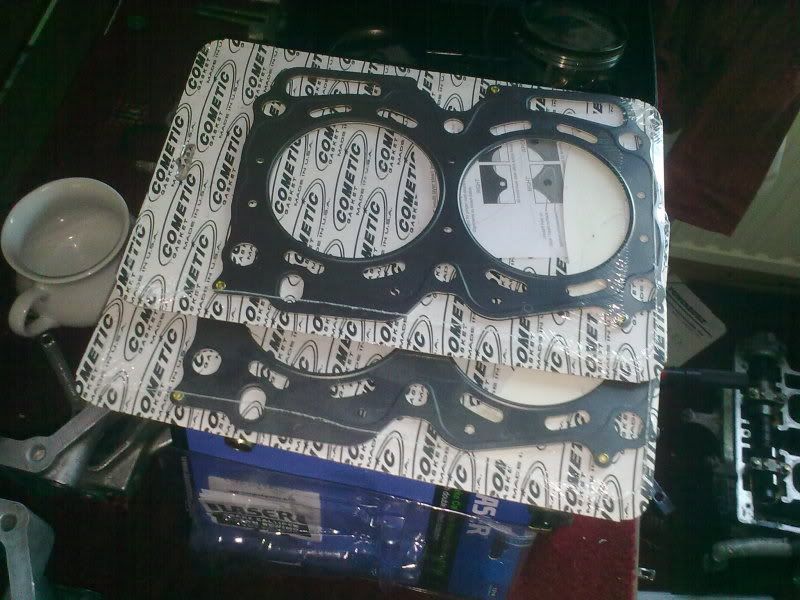
cometic head gaskets X2
Then back to dublin to pick up the block and heads and drop them down to Martin in westward, sound man.
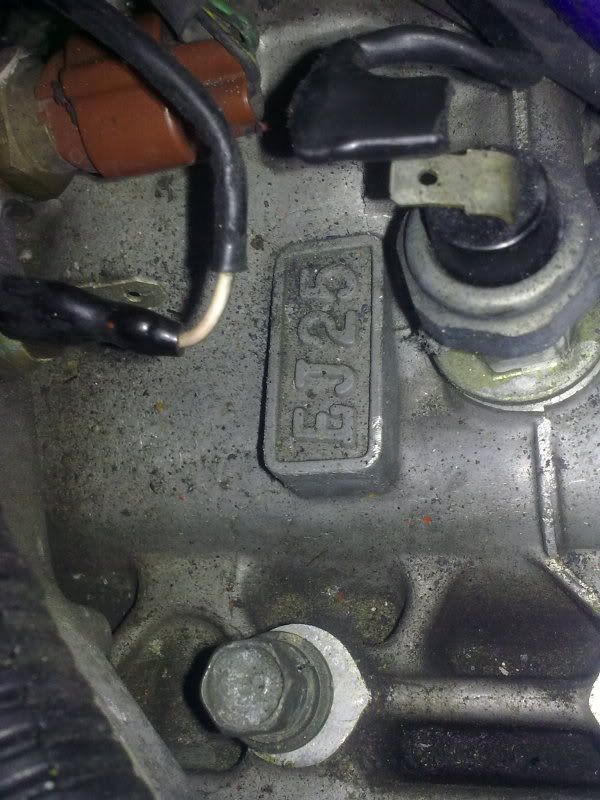
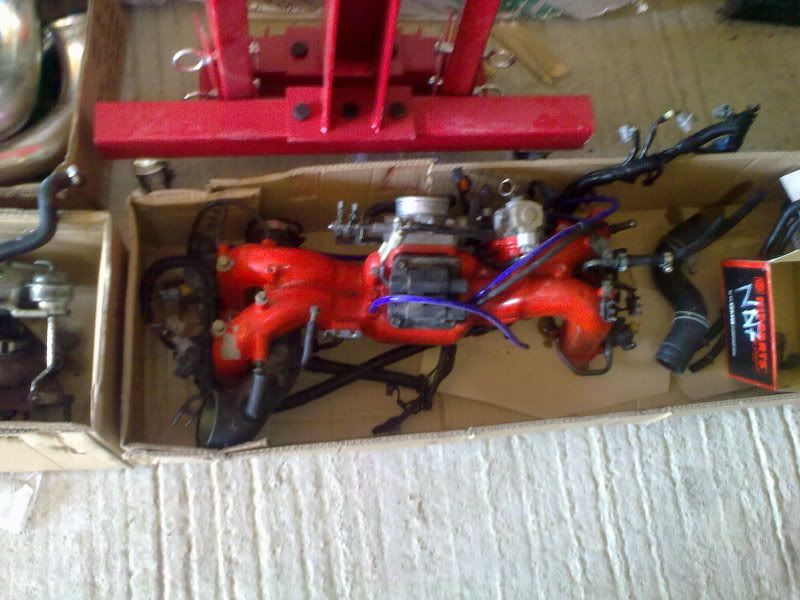
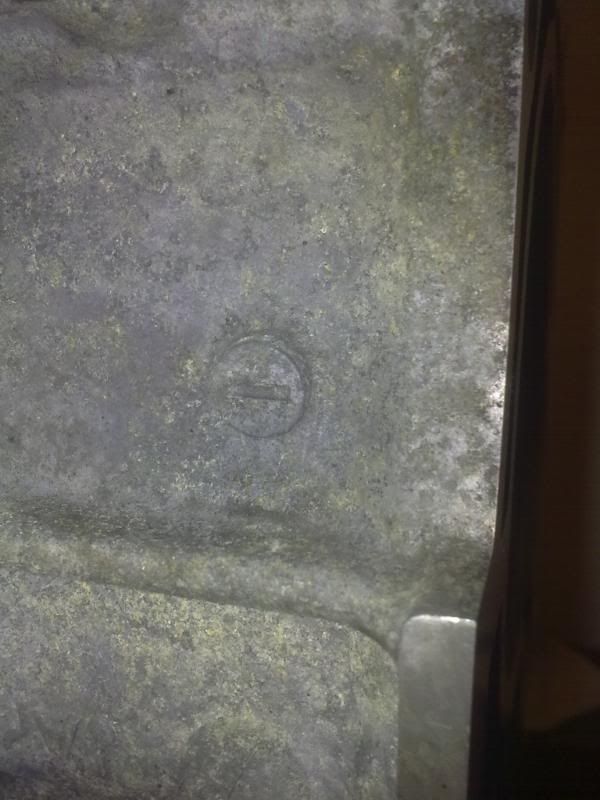
Turns out the heads are not V4 sti heads as Dave (sti tuning) pointed out to me, so i'll need to source a pair of heads to get the most from this build.
Few pics

Scooby engined micra lol
- 23-03-2011, 10:58 AM #7Senior Member
- Join Date
- Mar 2011
- Location
- Dublin
- Posts
- 672
Re: MY98 Sti Wagon Build
UPDATE: 10/12/2010
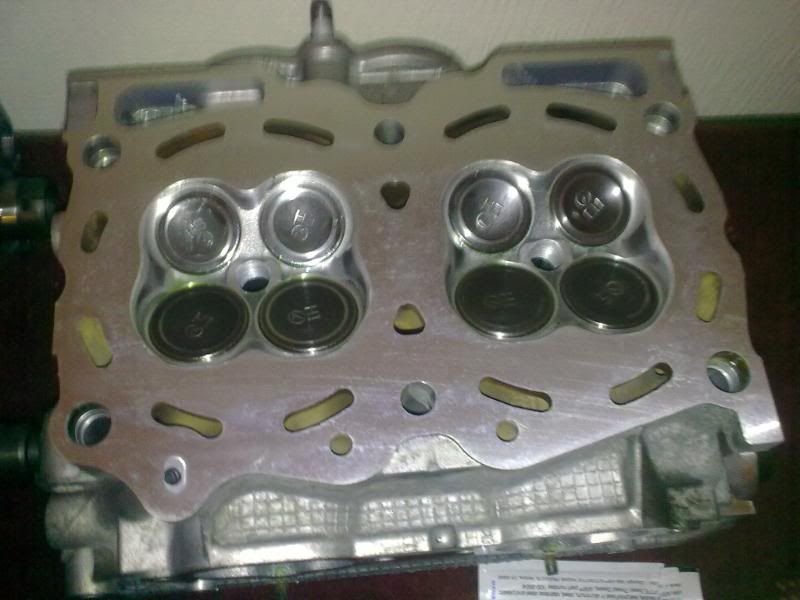
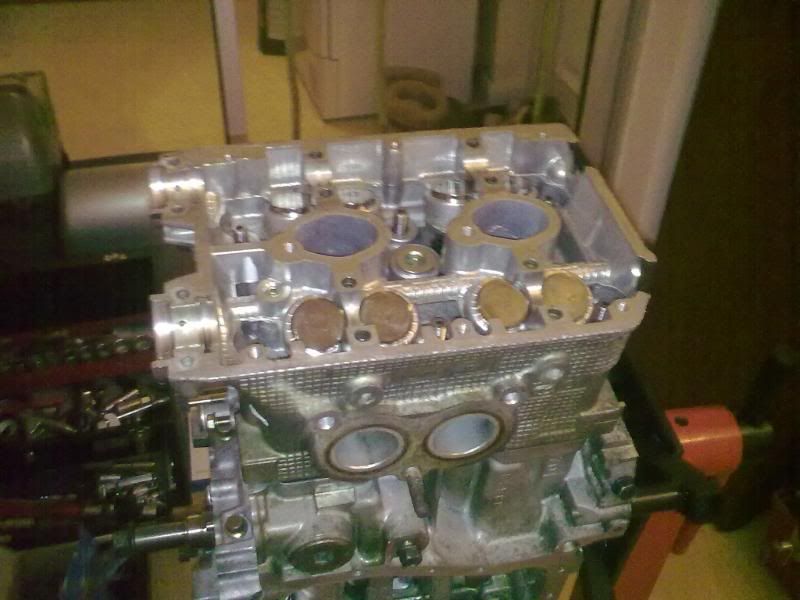
Right lads collected everything from Westward Engineering last night, very happy with the work. Basically what was done was bore the block for 0.5mm oversize pistons, decked etc.
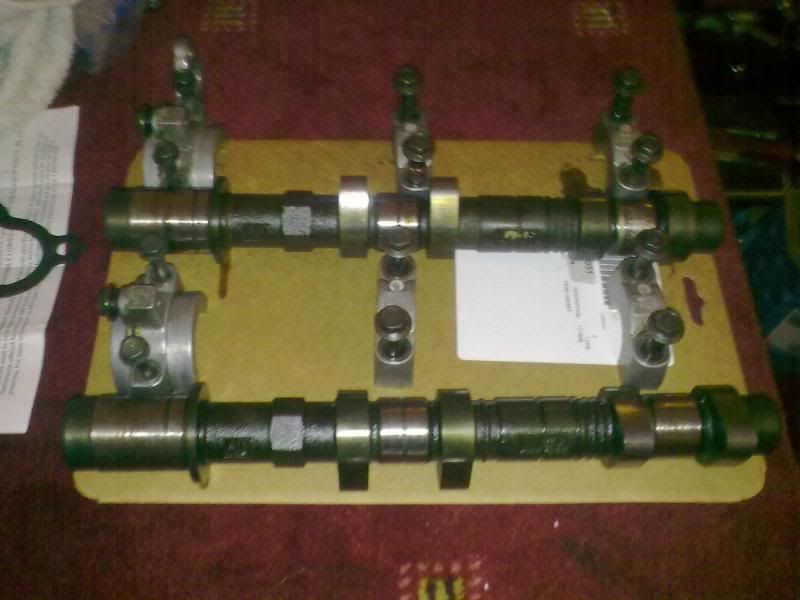
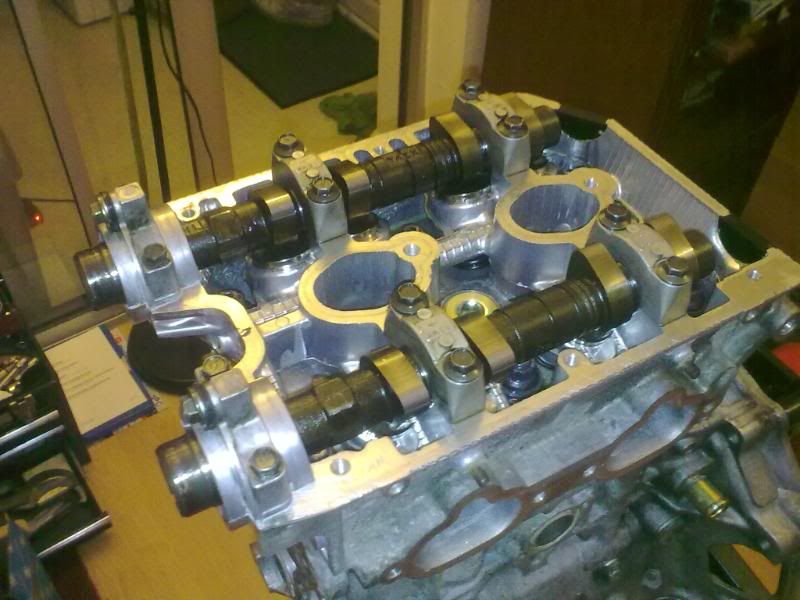
Then the two heads were fully reconditioned,valve seats recut,reground the valves, new valve stem oil seal,and the solid lifters re-shimmed.
Also I asked Martin to gap the piston rings for me as I wasnt confident filing them.
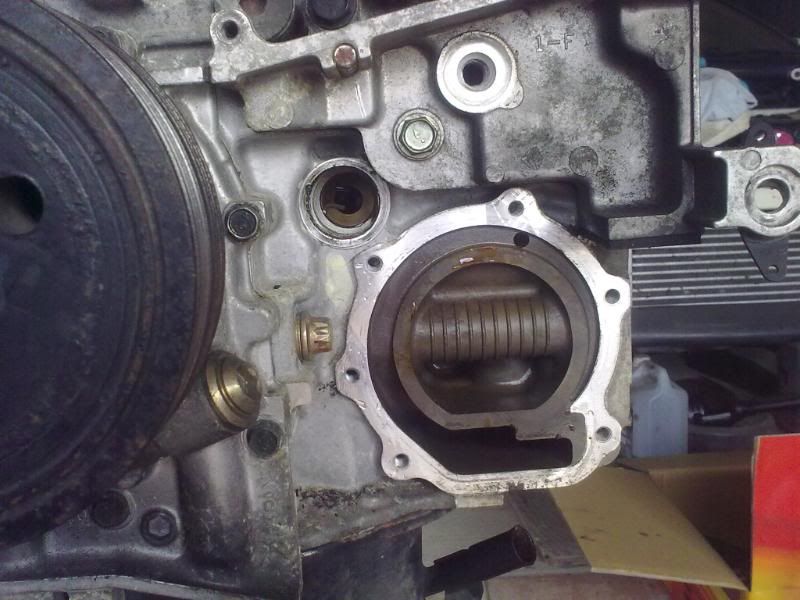
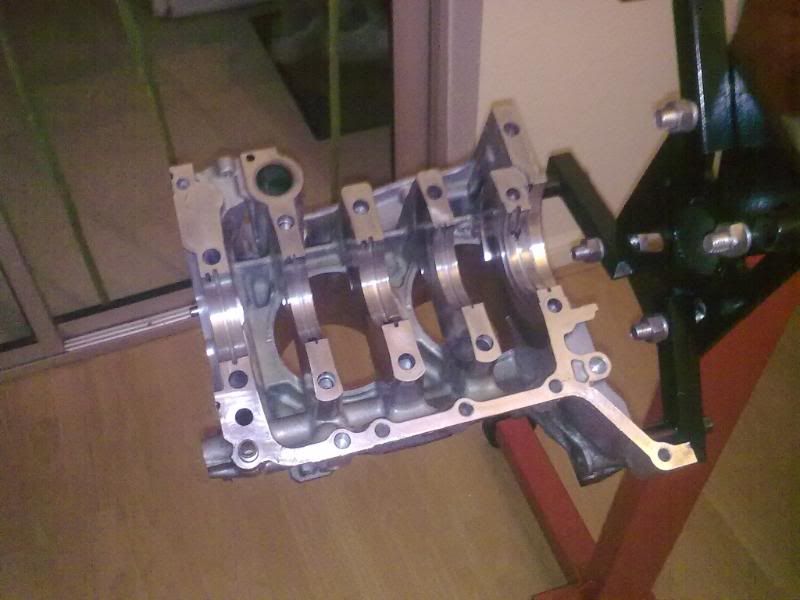
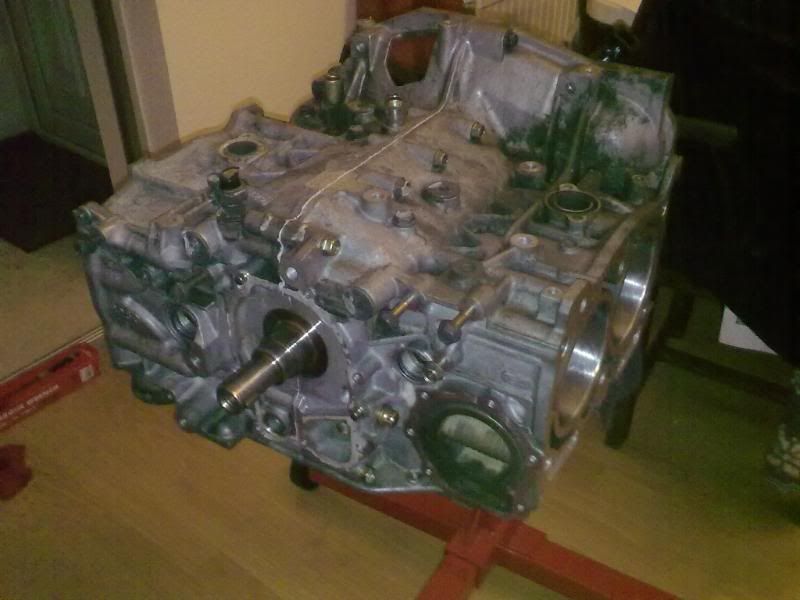
Half the block
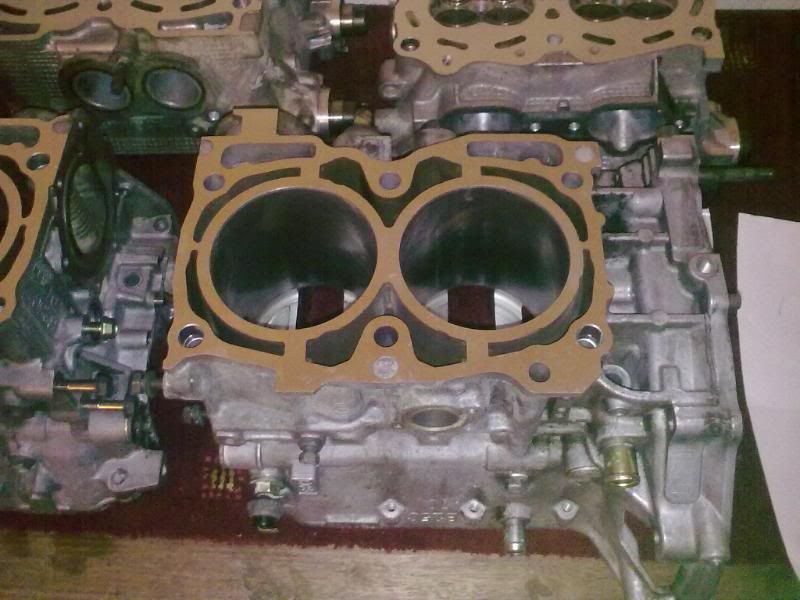
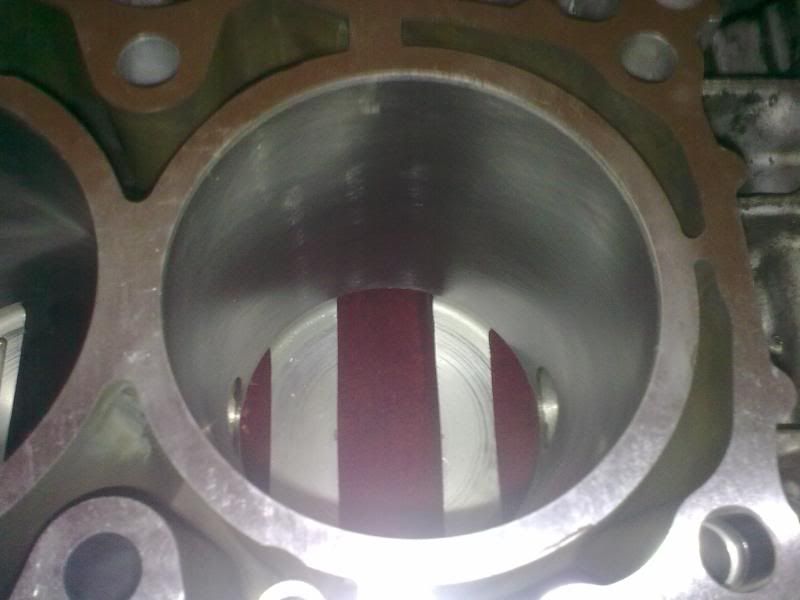
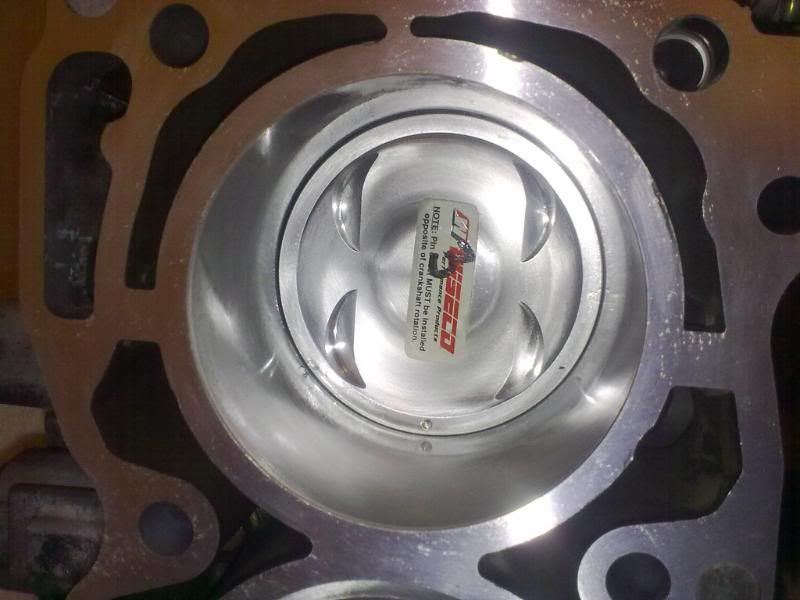
The Fresh bore
The whole package
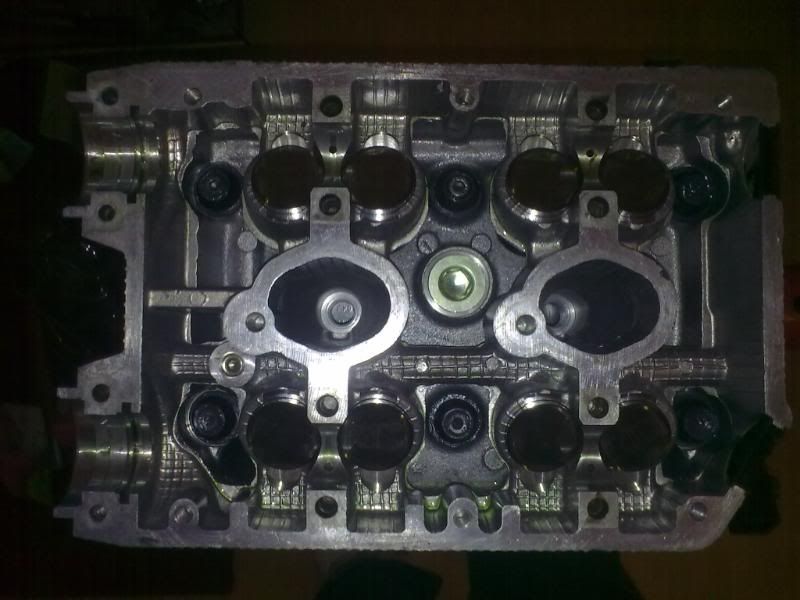
Head 1
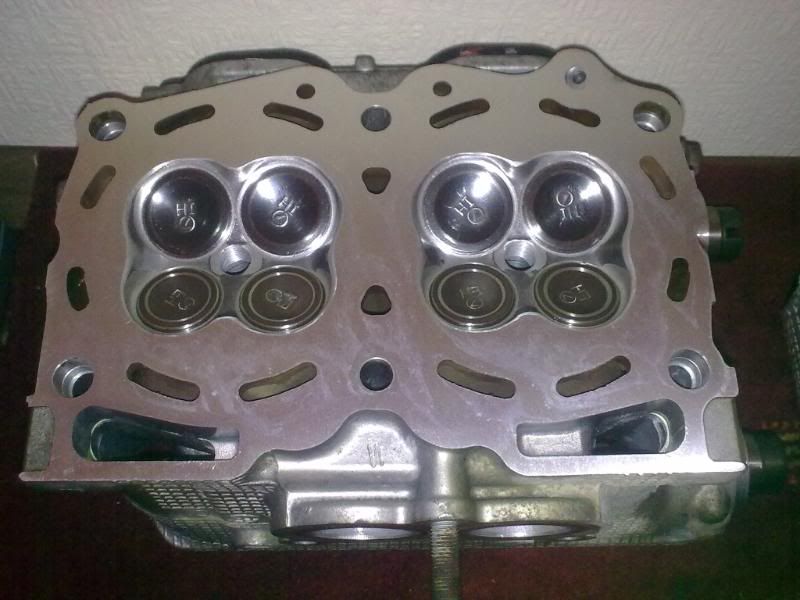
Head 2
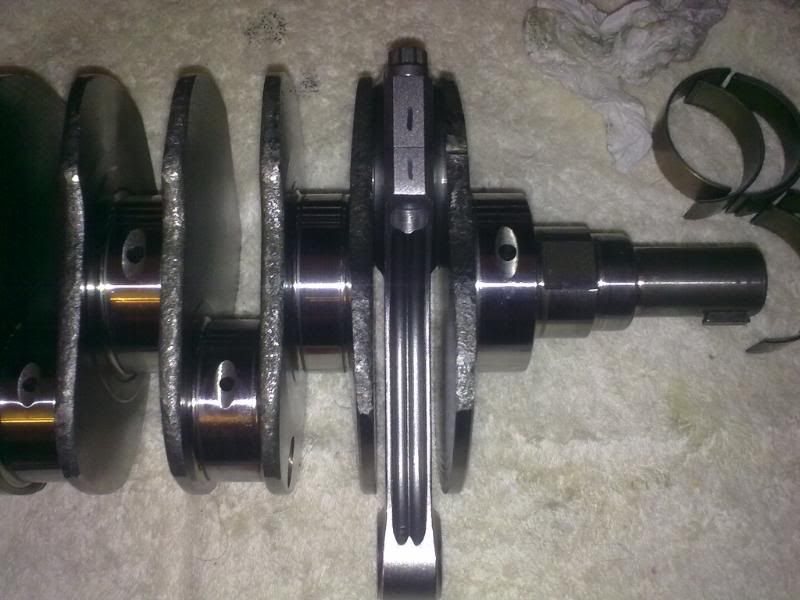
Polished crank
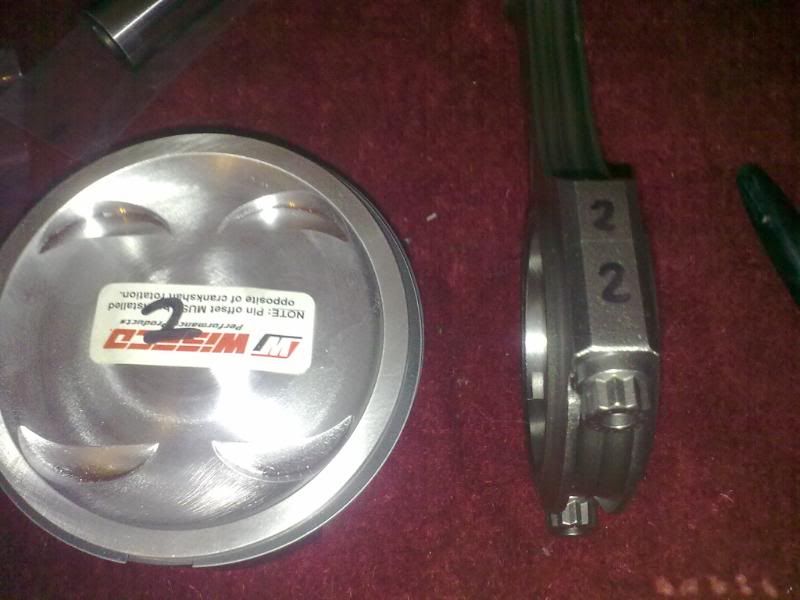
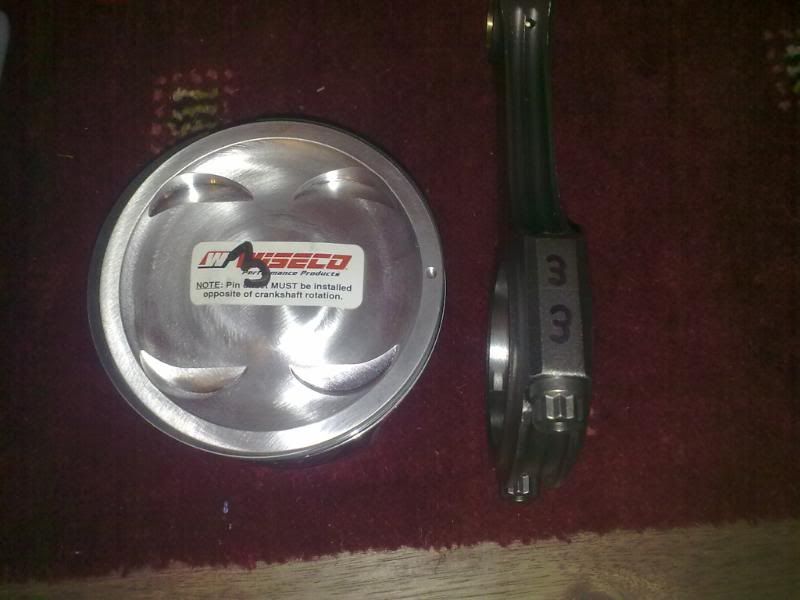
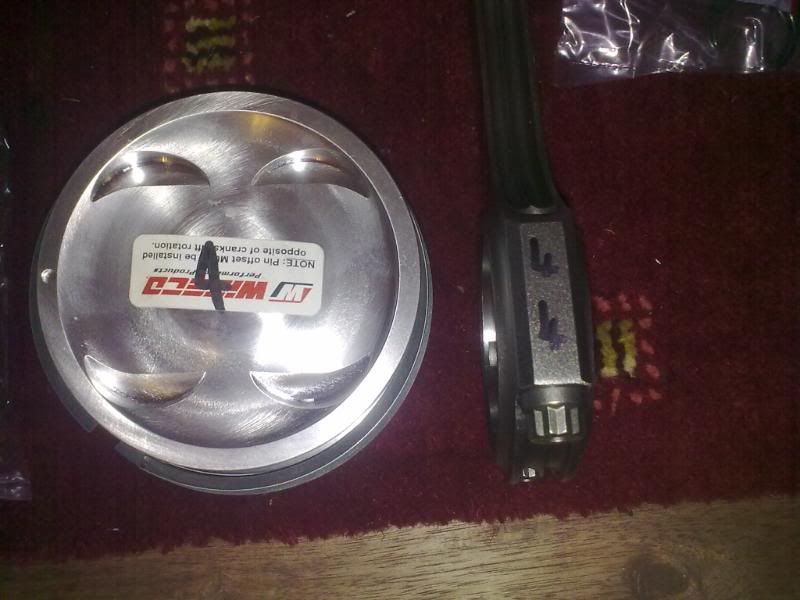
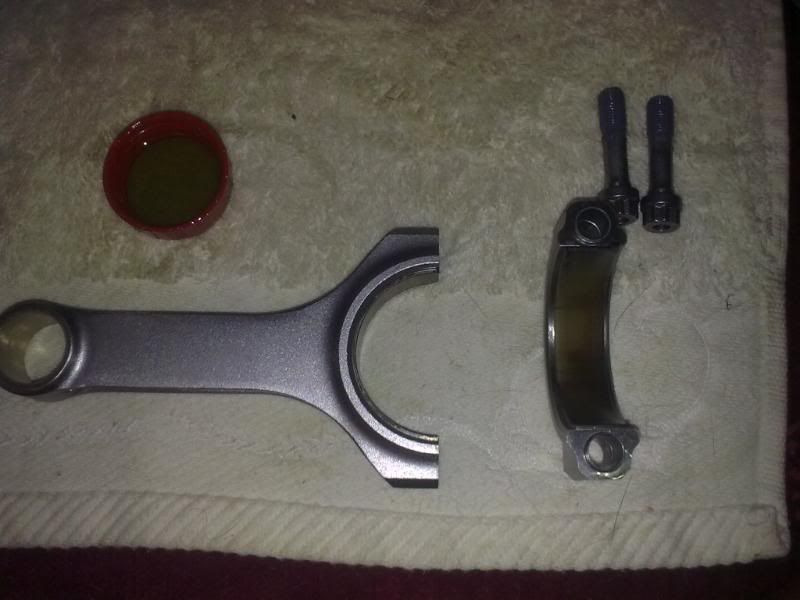
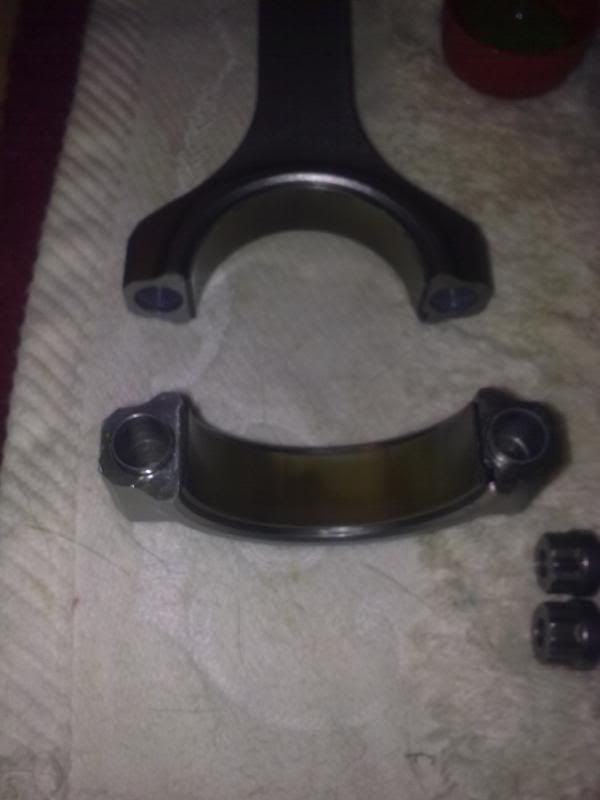
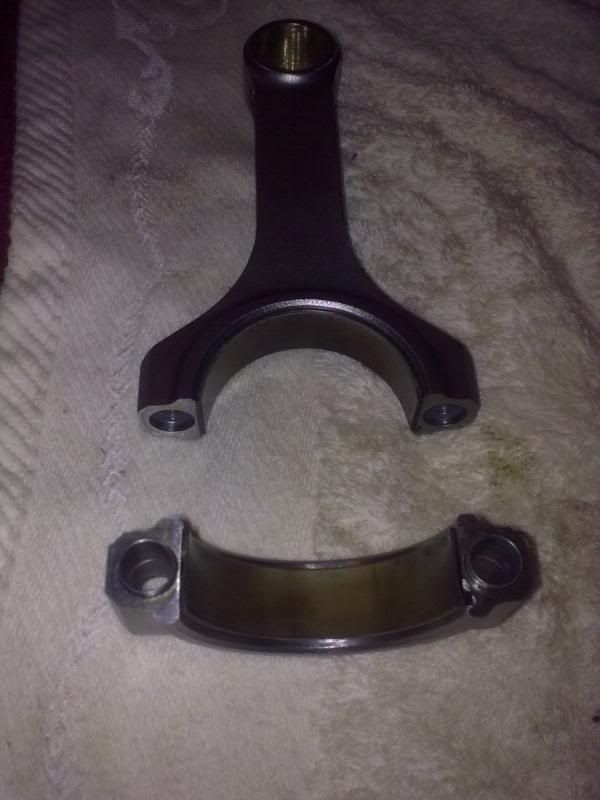
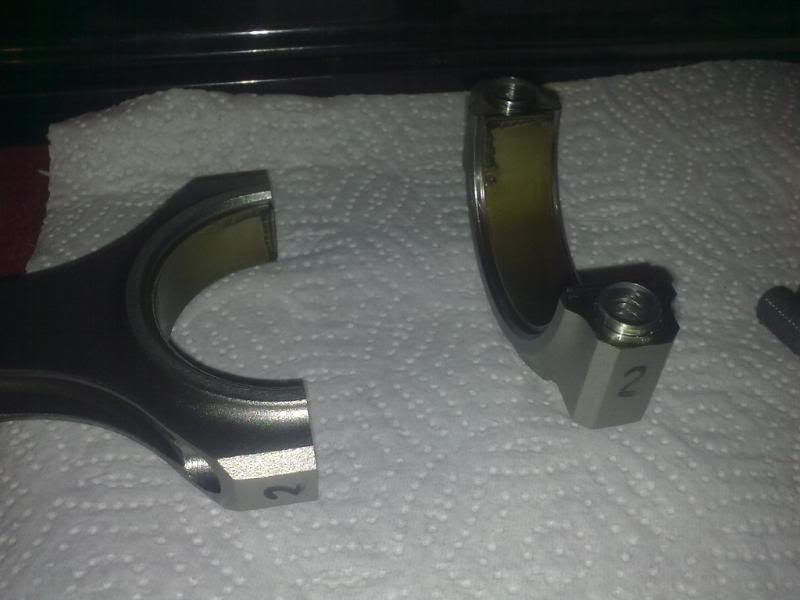
Matching a rod from cylinder 1 to piston from cylinder 1
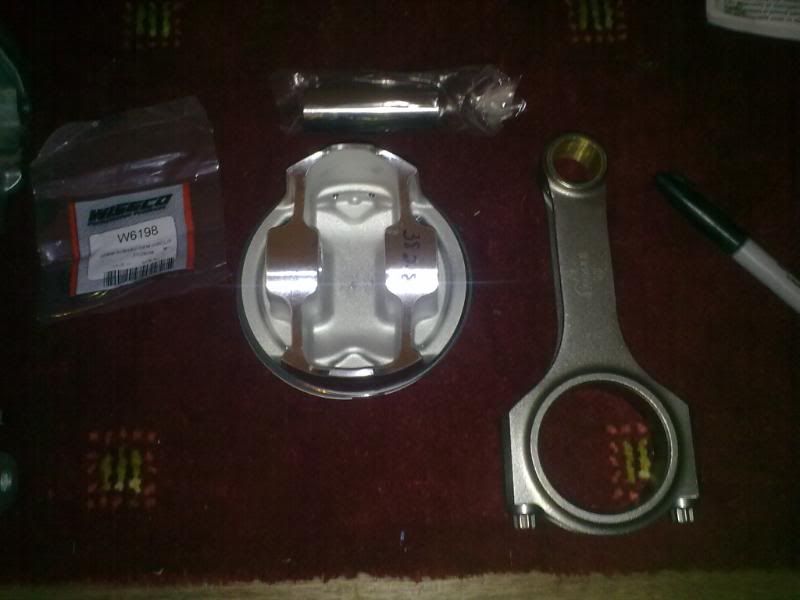
So When I'm done matching number 2 looks like this ,rod and cap marked with a felt tip marker because these can not be mixed

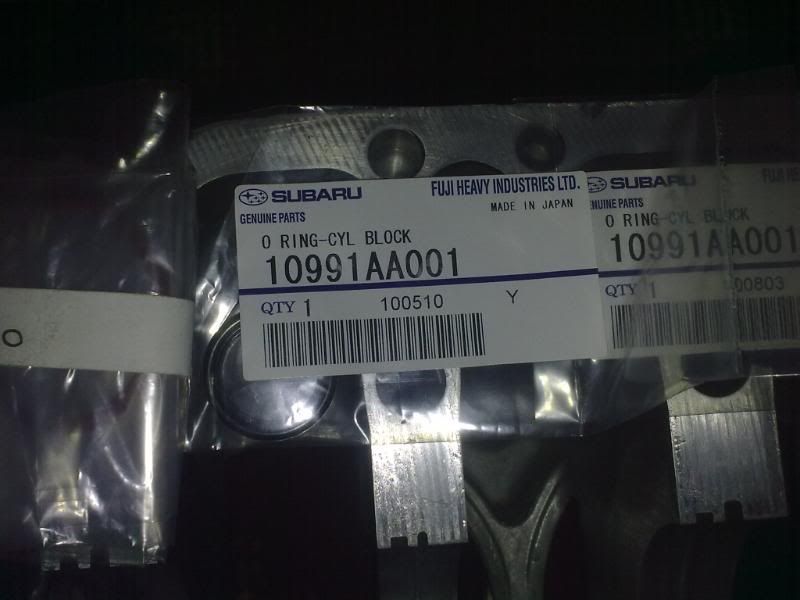
New o rings for the block
- 23-03-2011, 10:59 AM #8Davey

- Join Date
- Nov 2008
- Location
- Over on detailingworld.co.uk
- Age
- 48
- Posts
- 5,600
Re: MY98 Sti Wagon Build
Way to go Barry. No messin about there. Also great pics mate keep them comin.

- 23-03-2011, 10:59 AM #9Senior Member
- Join Date
- Mar 2011
- Location
- Dublin
- Posts
- 672
Re: MY98 Sti Wagon Build
UPDATE 14/12/2010
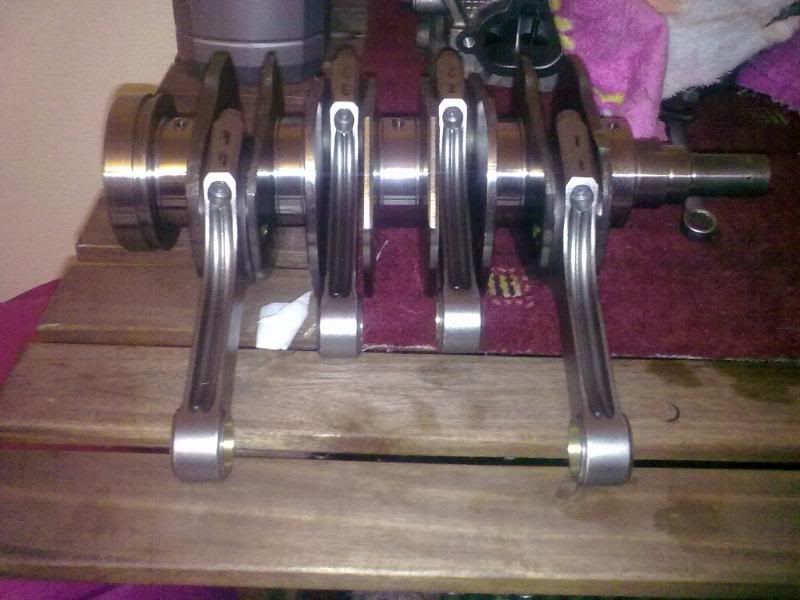
I'll let the pictures do the talking. . .
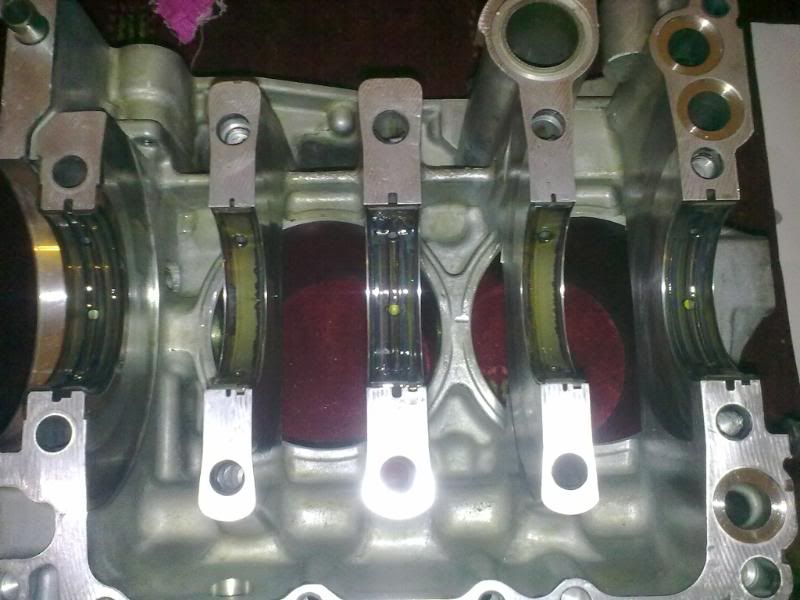
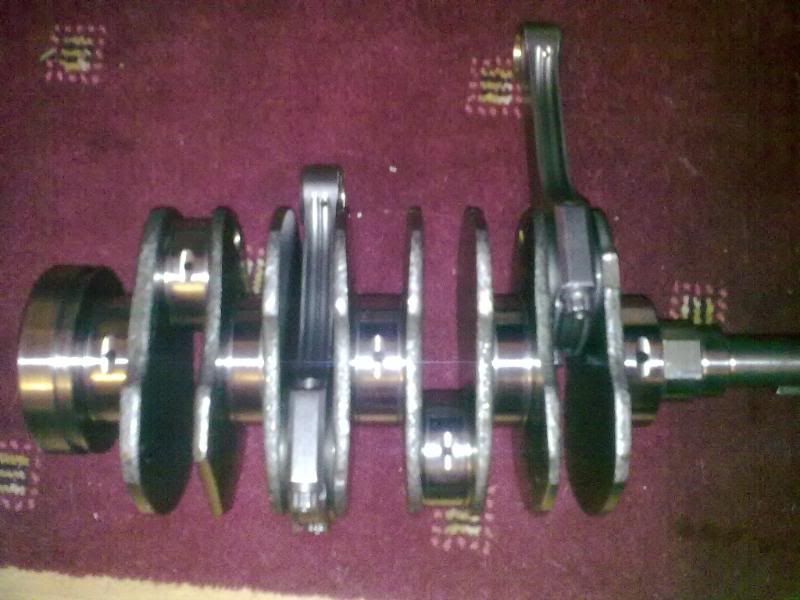
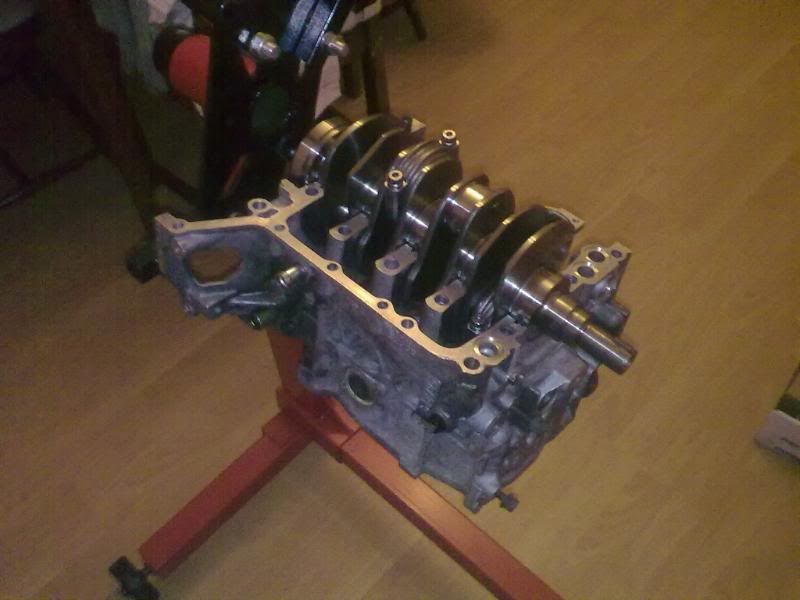

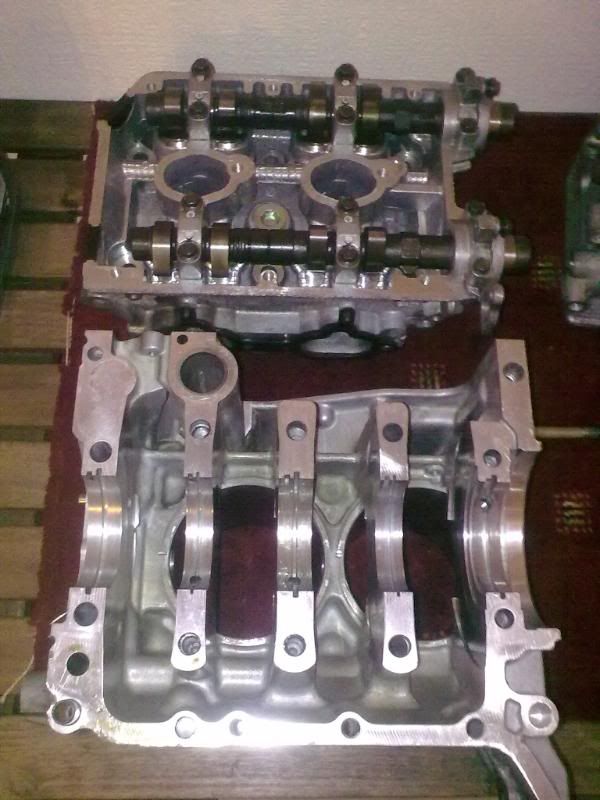
Complete crank with the new rods torqued up
- 23-03-2011, 11:00 AM #10Senior Member
- Join Date
- Mar 2011
- Location
- Dublin
- Posts
- 672
Re: MY98 Sti Wagon Build


- 23-03-2011, 11:01 AM #11Senior Member
- Join Date
- Mar 2011
- Location
- Dublin
- Posts
- 672
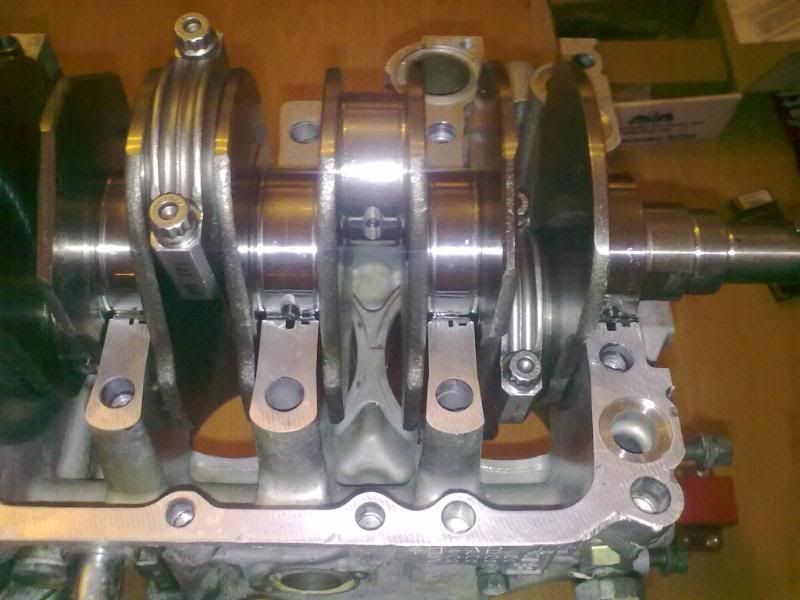
Re: MY98 Sti Wagon Build


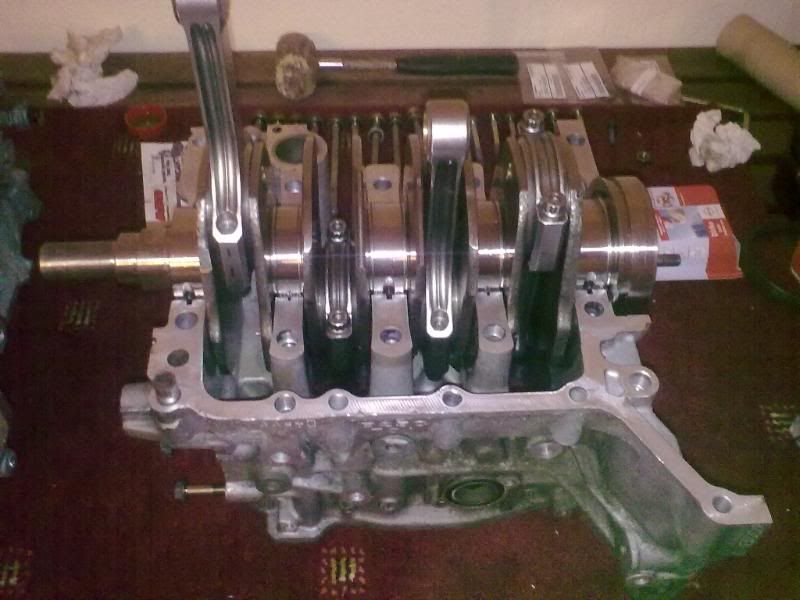
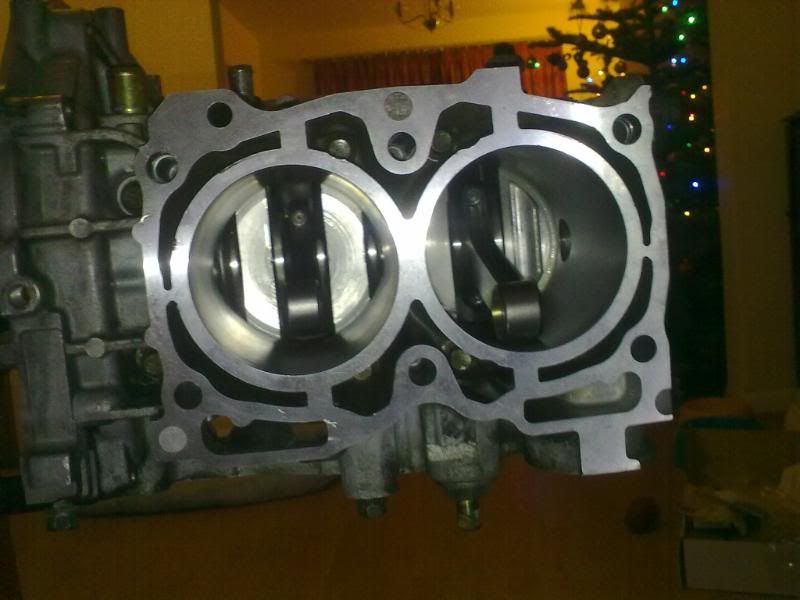
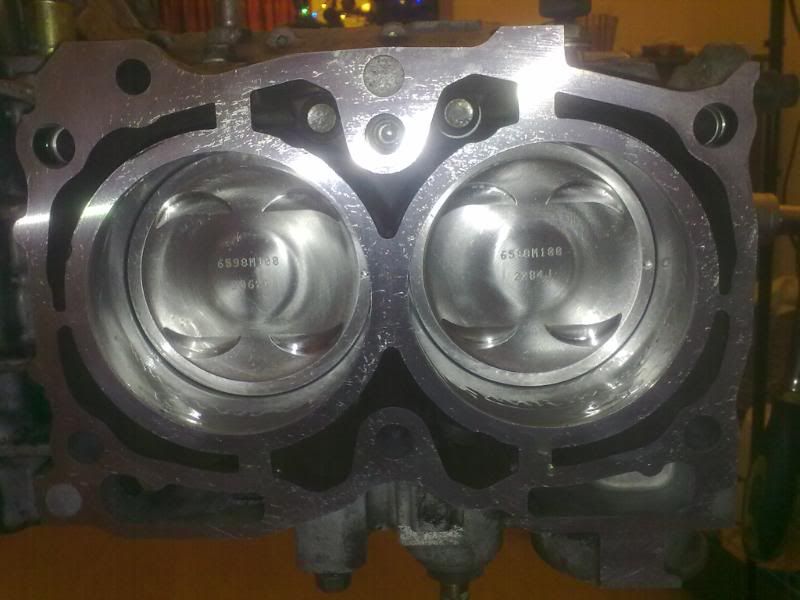
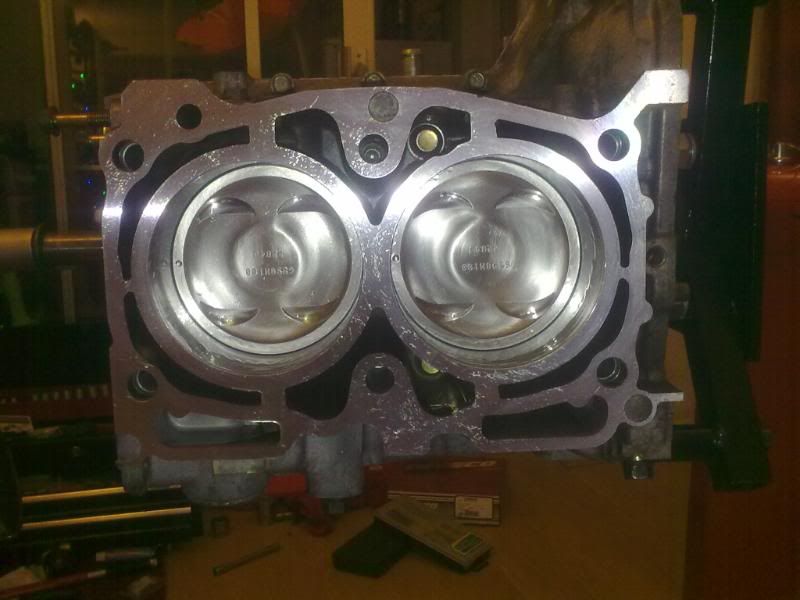
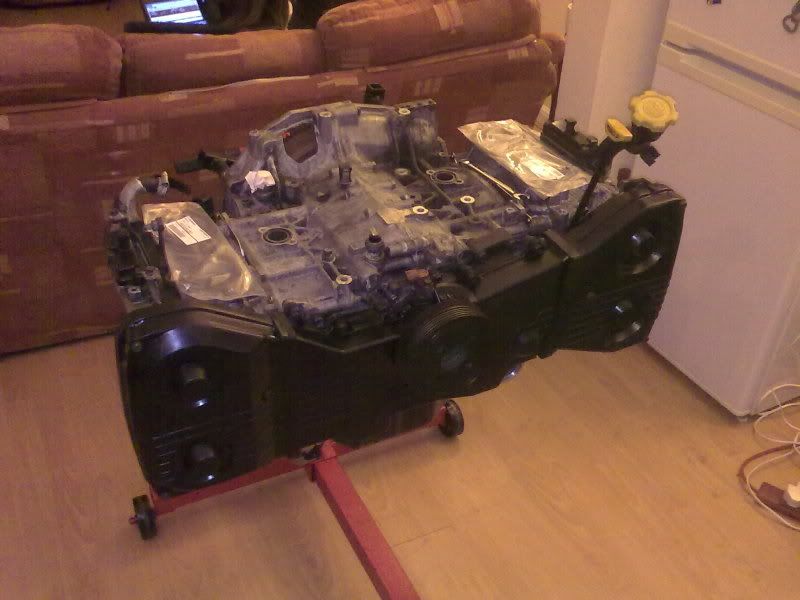
Thanks to Off-roader for the pistonring compressorbt
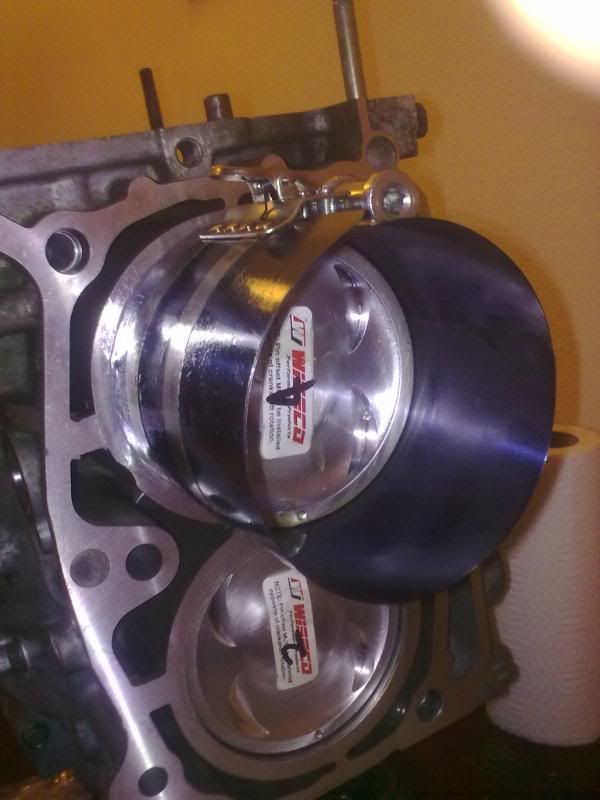
Complete Subaru Short block
- 23-03-2011, 11:04 AM #12Senior Member
- Join Date
- Mar 2011
- Location
- Dublin
- Posts
- 672
Re: MY98 Sti Wagon Build
UPDATE 02/01/2011
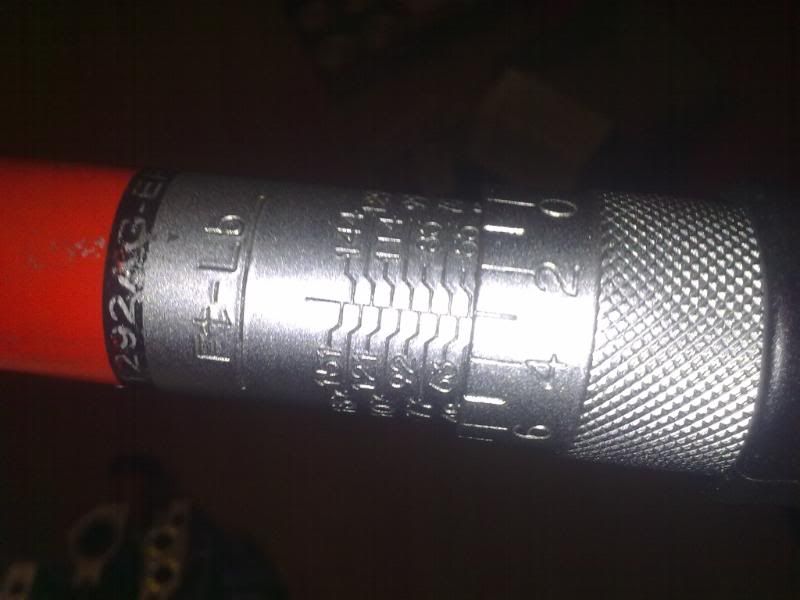
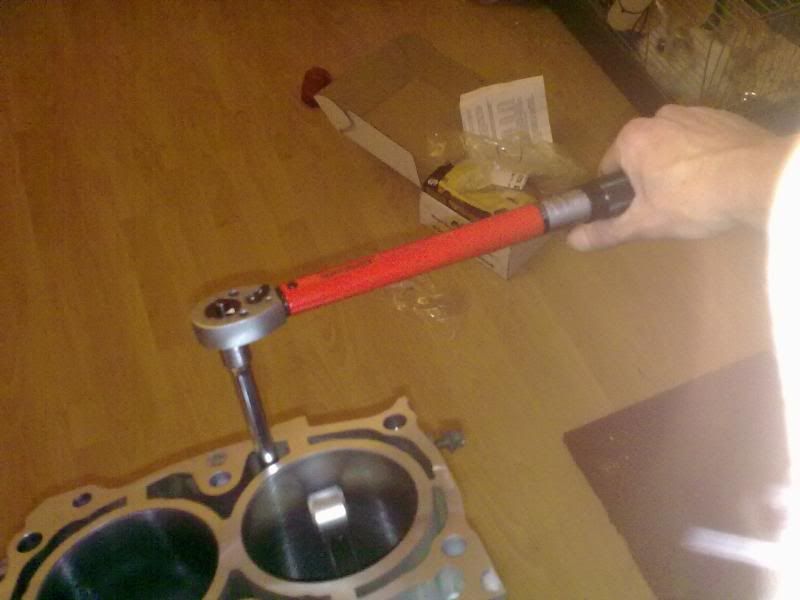
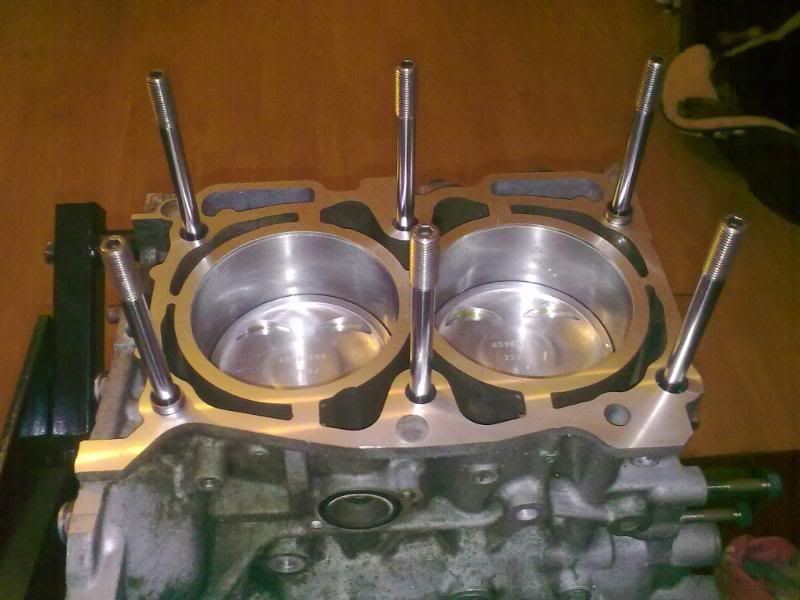
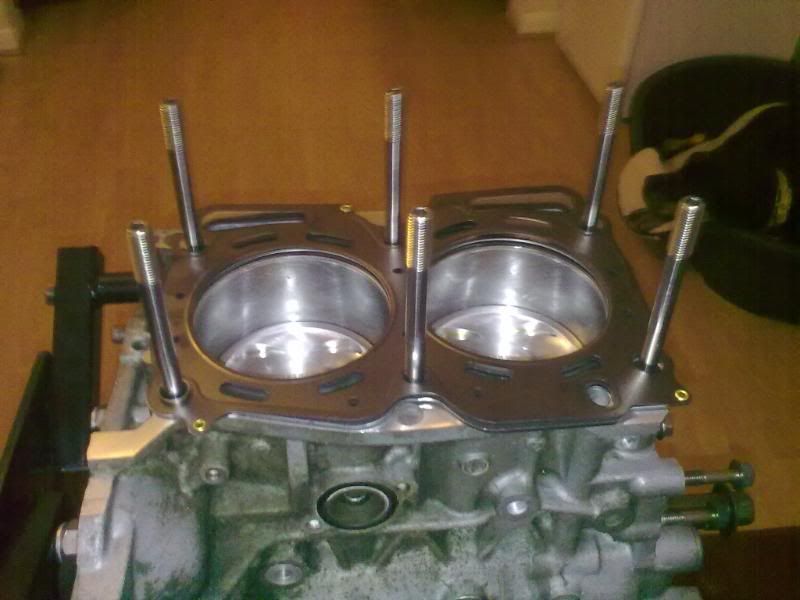
Well After getting the Imperial tools I needed I was able to fit the Arp head stud kit
First thing was to screw the studs into the block , Then fit the cometic Head gasket, next step was lubricate the threads with the supplied Arp assembly lube.
Then remove the cams and store the caps in order( do not mix them) then fit the head to the block and lube the arp washers and threads on the nuts themselves to allow me to get the proper torque.
This is done with the Subaru torque sequence and torqued up in 3 stages, 1st stage 30ft/lb , 2nd stage same bolt sequence again to 60ft/lb. 3rd and final stage to 90ft/lb as per the Arp instructions which are hard to understand in fairness.
Refit the cams with some engine oil on the lobes,on the top of the lifters/buckets and were the cam sits in the head itself.
Rubbed some oil on the caps and the cap at the front of the engine is smeared with a light coating of sealant
All caps then torqued up to 20ft/lb in the proper sequence
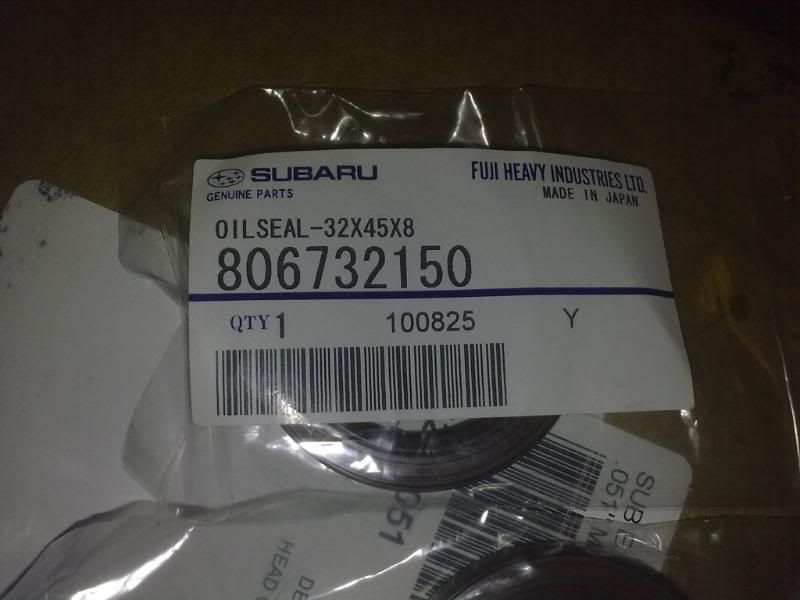
Then 4 new cam oil seals fitted
Wrecked now going to bed bt


- 23-03-2011, 11:09 AM #13Senior Member
- Join Date
- Mar 2011
- Location
- Dublin
- Posts
- 672
Re: MY98 Sti Wagon Build
UPDATE 19/01/2011
Well lads the latest on this ,
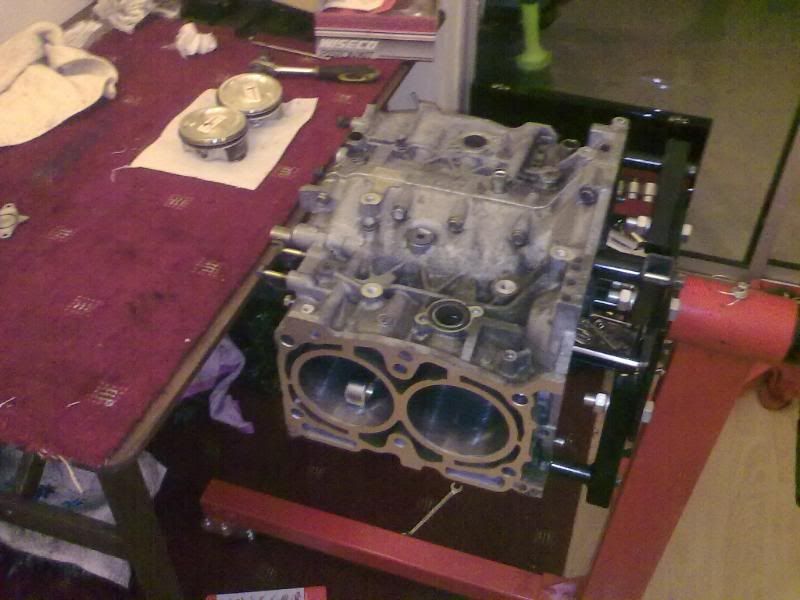
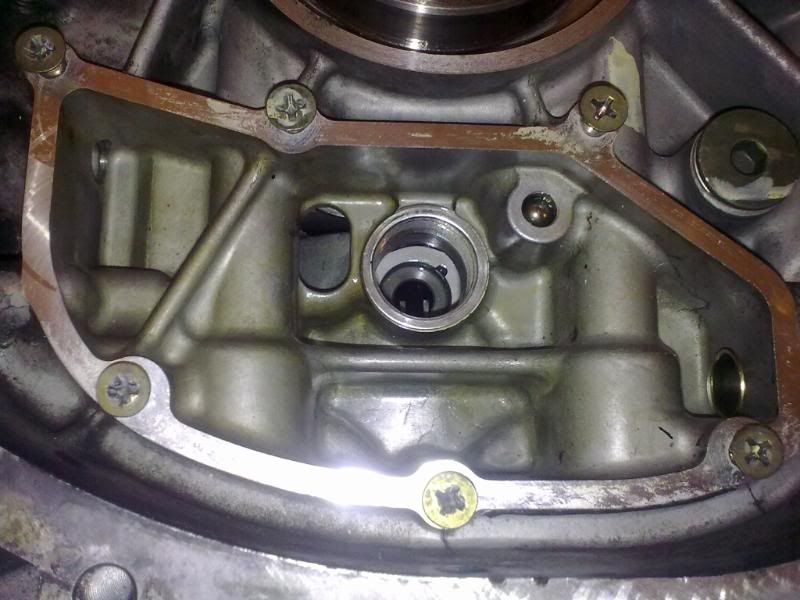
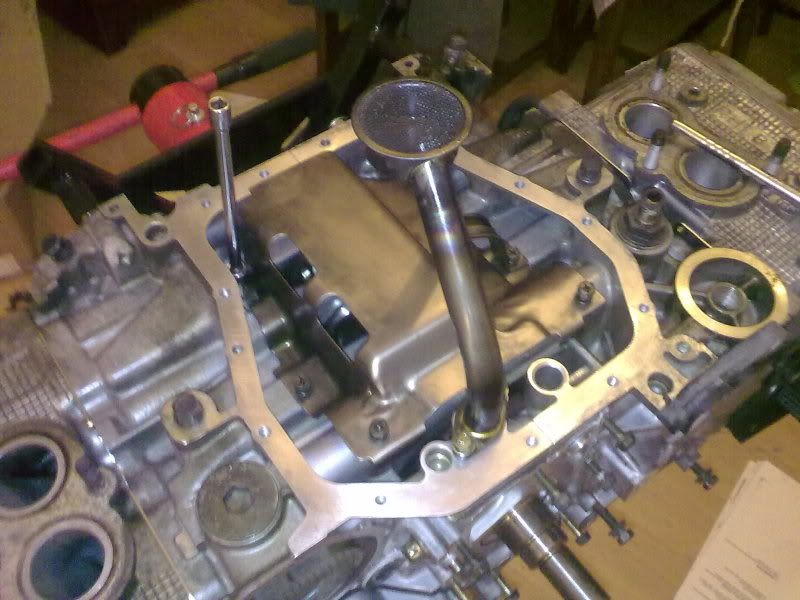
Assembled the oil pick up and fitted the sump
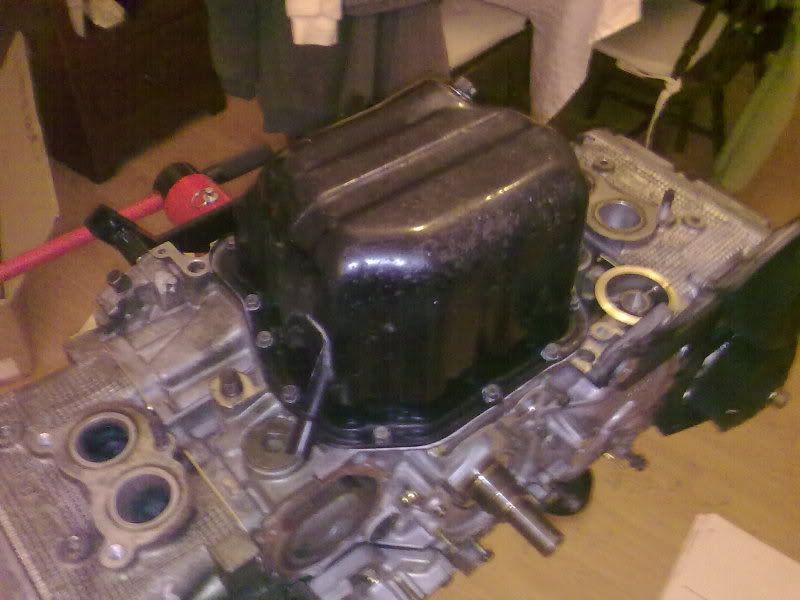
Ordered a few bits online because the prices are rediculous here.
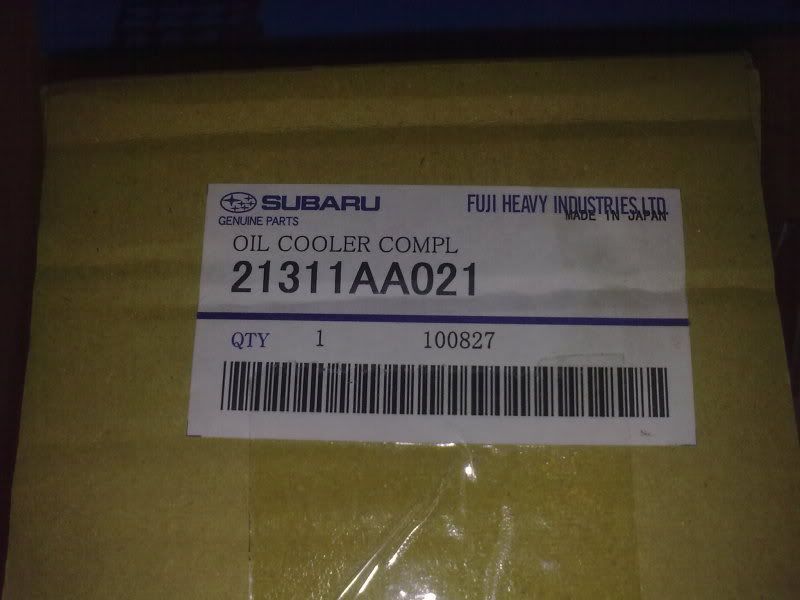
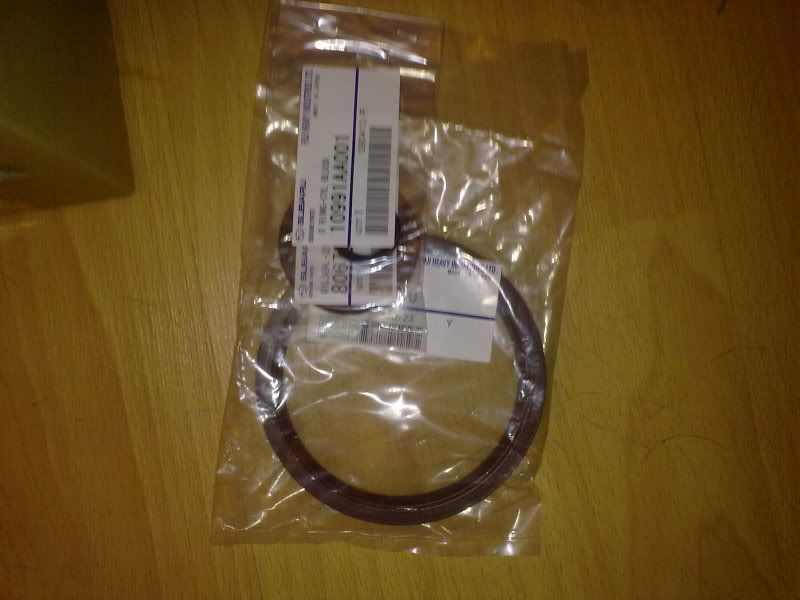
Basically a timing belt kit including water pump,a new oil cooler modine for the block ( amust when rebuilding a subaru engine )front and rear crank seals and a few engine o rings that I needed.

Oil cooler
Oil seals
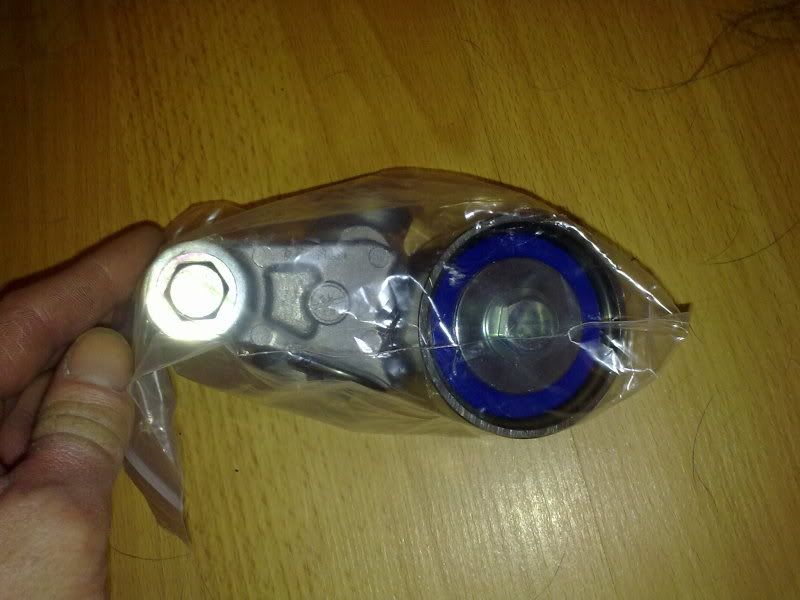
New tensioner
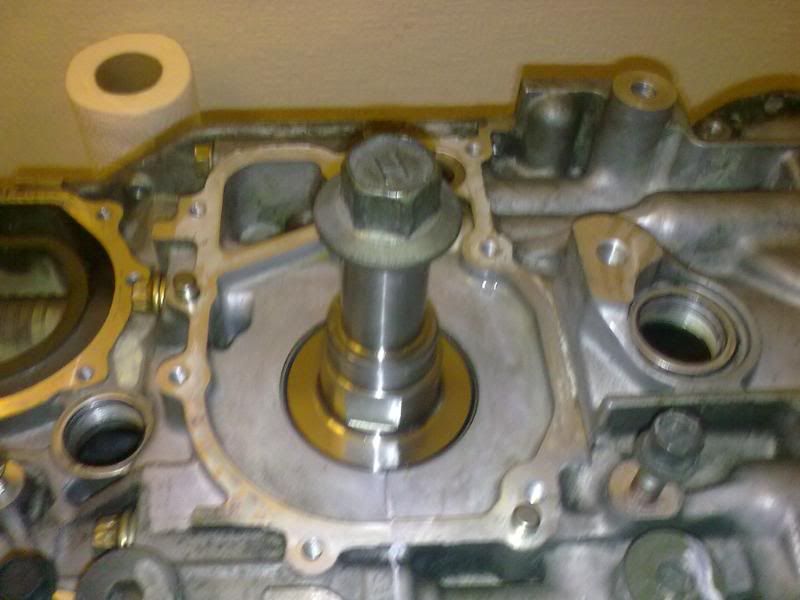
Oil pump ready to be fitted, someone off here told me to fit it dry with no sealer but I was told otherwise
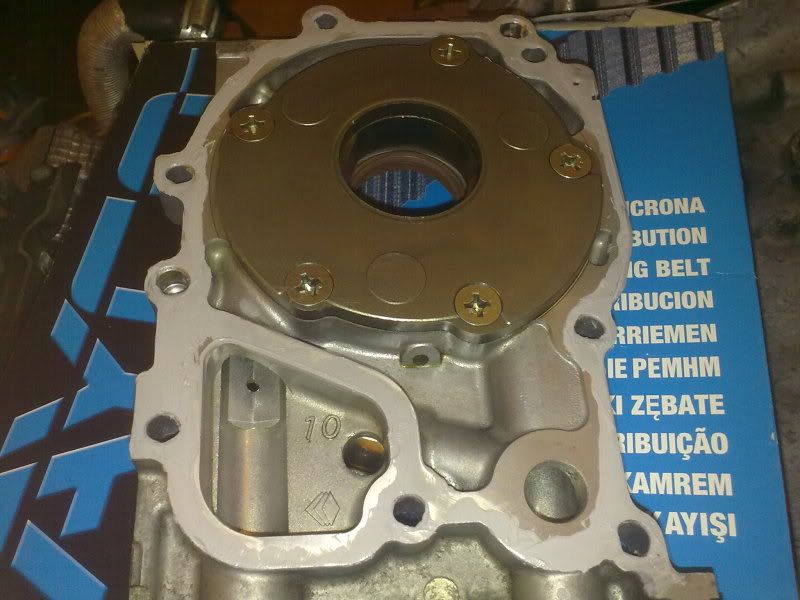
New water pump
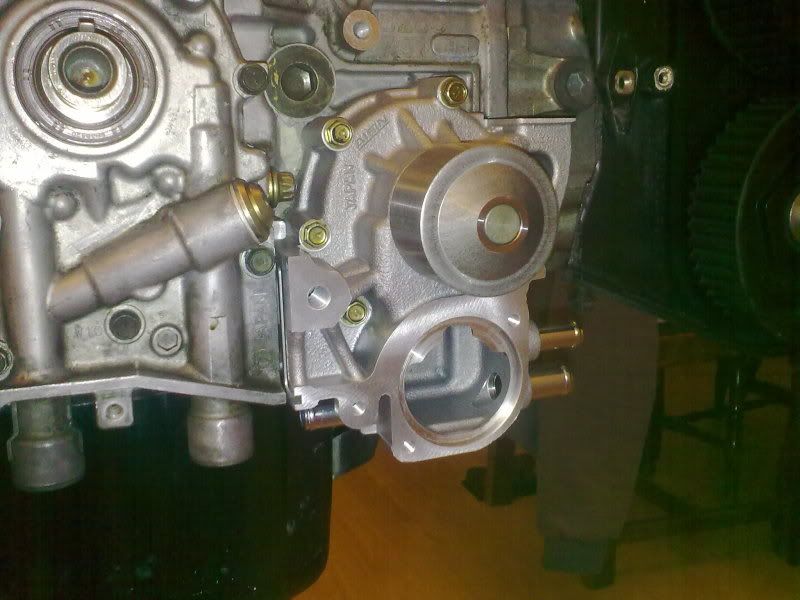
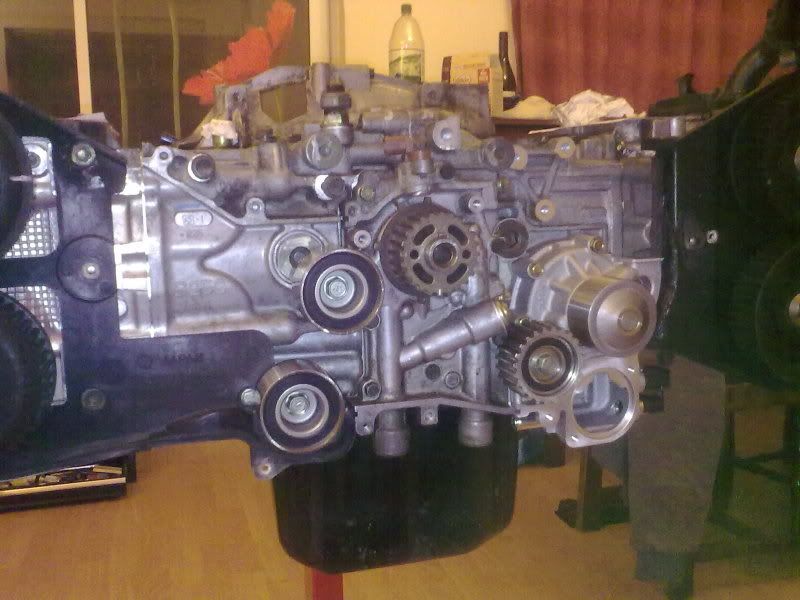
All idlers ,new toothed pulley ,oil pump and water pump fitted.
All I need now is a hydrolic tensioner bracket as the threads were damaged by the last builder and I can put the belt on and it finished:happy) :happy)
- 23-03-2011, 11:10 AM #14Senior Member
- Join Date
- Mar 2011
- Location
- Dublin
- Posts
- 672
Re: MY98 Sti Wagon Build
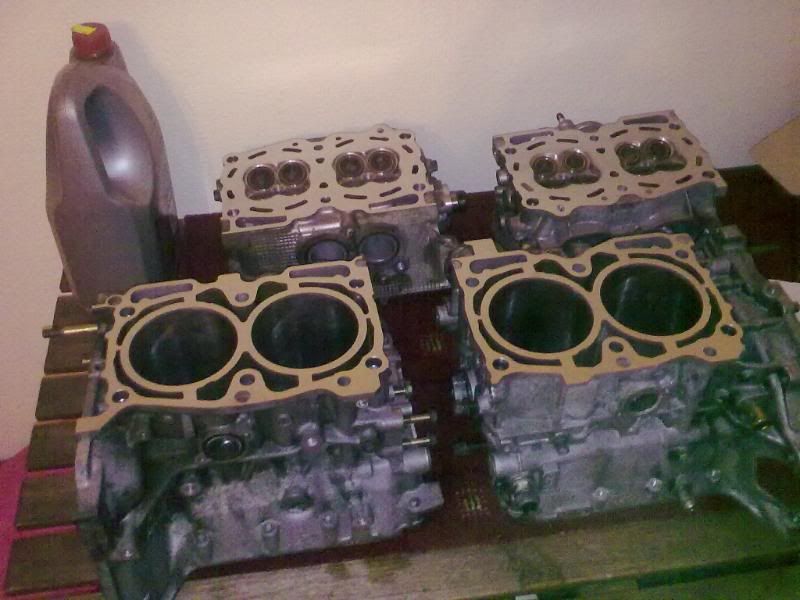
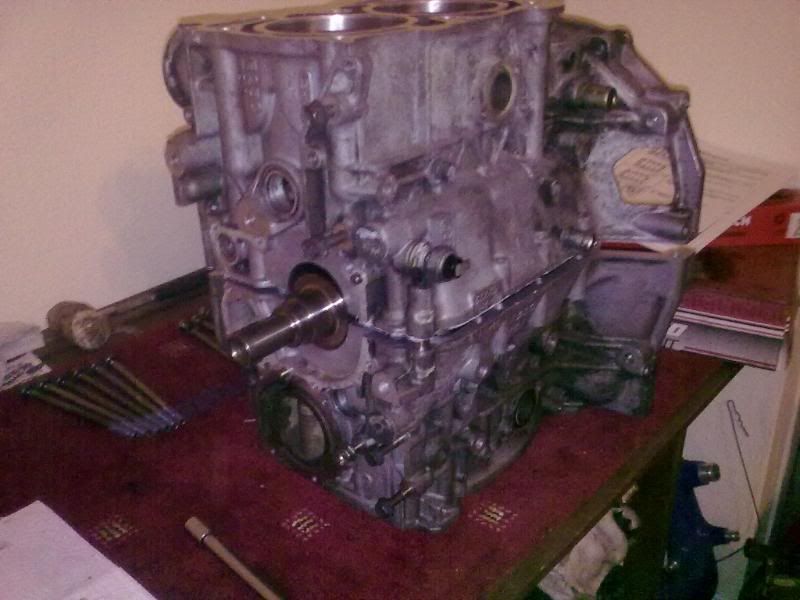
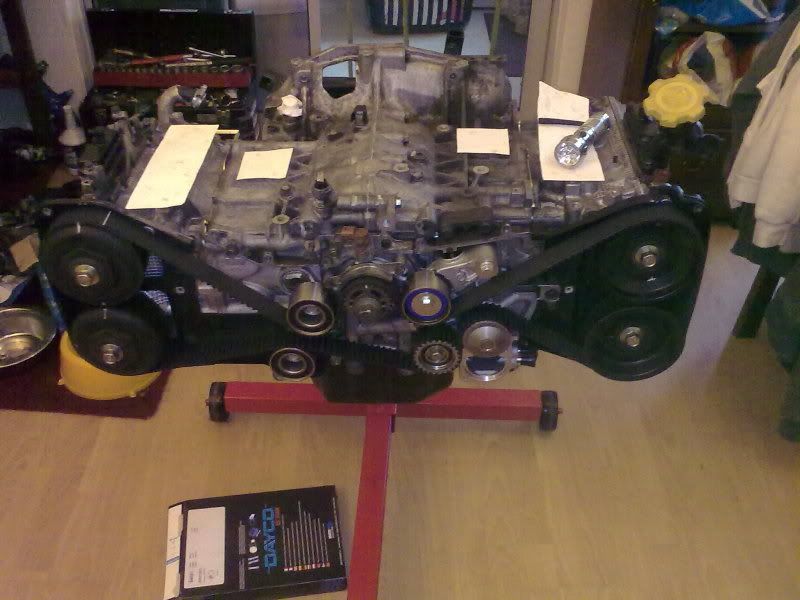
UPDATE 24/01/2011
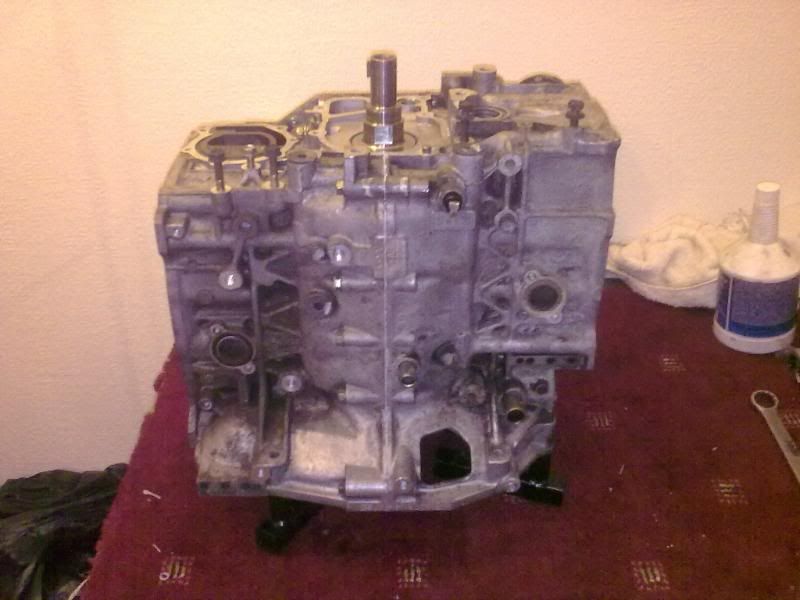
ENGINES READY!!
- 23-03-2011, 11:11 AM #15Senior Member
- Join Date
- Mar 2011
- Location
- Dublin
- Posts
- 672
Re: MY98 Sti Wagon Build
Here's a pic of it before it goes off down the country

 Posting Permissions

 Reply With Quote
 Your Privacy Choices
Bookmarks